Thursday, October 29, 2020

Midnight Clear BOM Block 6

 Wow! I realize this is a really late post. I had a busy day and time got away from me, and as I was getting ready to go to bed I realized I never wrote the blog! Today consisted of fixing a longarm, pricing new products, a mail run, and then off to my brother and sister-in-laws for dinner, which quickly turned into the rest of the evening. 

It is time for our last block set of our Midnight Clear BOM. Block 6! Crazy too think we are that far already, and that close to Christmas! 

Block 6 was a fun one. There are quite a few flip and stitch corners, and a few half square triangles. 

For my half square triangles I adjusted my cutting sizes and rounded up again. I would rather cut too big and have room to square than cut those pesky 1/8”. Sew on either side of the drawn line and then I squared my half square triangles using my 4-in-1 half square triangle trim tool.  

Then for all the stitch and flips I used my Folded Corner Clipper. I love this tool so much, and it is one that I always have with me when quilting, and always pull out. Mine had been getting a lot of use lately, it seems I’ve chosen a few projects that have a lot of those stitch and flips in there. 

I love how all these blocks are composed of very similar parts and come out looking so different. And how a stitch and flip can look so unique from one block to the next, and same with a HST.
Here are my block 6’s. 
Are your ready to construct sashing in two weeks? 

Have a great weekend. Hopefully the next time it’s my turn to write the blog I won’t forget and suddenly remember at bed time 🤣
Carrie will be back November 12 with the sashing rows. And she is gonna remember earlier. 


Monday, October 26, 2020

Replacing Mats, Rulers and Blades

 Happy Monday, I hope you had a great weekend, ours was fairly quiet. My two oldest start hockey this week so we tried on all their equipment and my husband took them shopping for the few items that they had grown out of, that combined with supper at my in-laws, church and dinner at my parents was the extent of our weekend adventures. 

I mentioned Thursday that I would do a post on the importance of replacing your cutting mats, rulers and blades and so that is what I am doing today. 

Esther did a video on this last month on our Facebook Page so if you would rather watch that than read just click this link. Video Link

Cutting Mat, Rotary Cutter, and Ruler all three work together and all three need replaced occasionally. 


Our blades need to be replaced the most often. I usually replace mine about once a month. Although I have been using a new brand of blades called LDH and they do last longer then the regular Olfa or fiskar blades for me. I also really like the Olfa Endurance blades they do last longer than the regular blades do as well. Your blade should be able to cut through several layers of fabric easily with no missed pieces or extra pressure. This will give you nice, clean, accurate cuts and save you from excessive wear and tear on your ruler and mat. Like a sharp knife will give you nice edges when cutting in the kitchen, and a dull knife will give you more rough, serrated edges, the same goes in your sewing room with a sharp and dull blade.

I have heard often people saying they need to replace their blade because they must have run over a pin and are now getting skipped pieces in their cuts. Though it is possible that you did run over a pin chances are you may have a nick on your ruler that is actually causing your blades to get nicks in them. Because we are running our blades along the edges of or ruler any bump or nick in our ruler will affect our blade. Your blade will catch on them and it will wreck your blade.  If you run your finger up and down the edge of your ruler it should be smooth and flat. If there are any bumps or ridges it is time to replace it. This goes for your regular use rulers and the specialty ones. 

Cutting Mats also need to be replaced. Even though many of them now are self healing they can only "heal" so many times. If you run your hand over the surface of your mat it should be nice and smooth. If it is rough it needs replaced. Any grooves in your mat are really bad for cutting on. Your rotary blade will dull extremely quickly in these grooves, and it will also be easier for you to knock up against your ruler when in these grooves, causing you to put a nick in it and your blade. 

A dull cutting blade also makes us put more pressure on our mats when cutting, the cut goes deeper and rougher into mat making those cuts harder to "heal" on the mat. 

We also live in a very dry climate so our mats do try out a little quicker than they would in a more humid environment. I had an older mat that I used only for trimming down my quilted quilts, and when I took it off the counter the other day it actually cracked. 

When looking for a new mat I advise getting one that has more layers to it. I love the Creative Grids mat and the Lori Holt Bee in My Bonnet mats. Both are 5 layer, priced similarly and are double sided. The Accuquilt GO cutting mats are a great price at our shop, are also double sided but a little softer, which is nice to cut on but they do wear out a little quicker because of their softness, but still a great option in my opinion. The Olfa mats are super thin, and single sided so they wear out very quick and they are not any cheaper than the other mats, so I don't find them very good at all. 

I hope this information was helpful, and I am curious have you replaced any of these items recently? They all make great Christmas Gift Ideas so if you need to replace yours put these items on your wish list. 

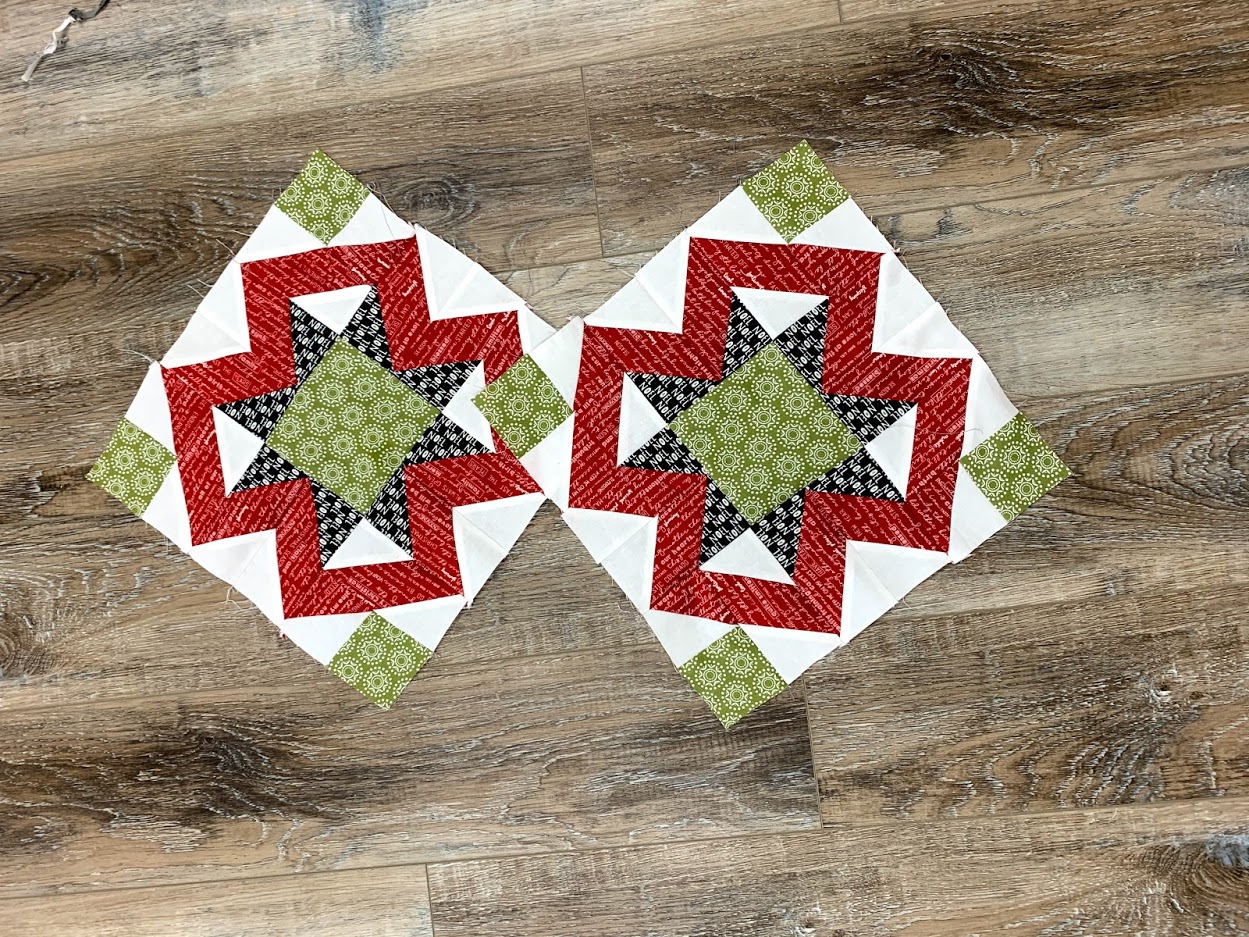
Carrie will be here on Thursday with her Midnight Clear BOM and next week Monday I will have the next set of Woodland Wonderland Blocks ready.

Kayla

Thursday, October 22, 2020

Favorite Products: October

 Today I am going to share with you some of our favorite products at the moment. 

Esther is loving the Creative Grids Cutting Mats in the various sizes, the LDH Cutting Blades for rotary cutters, and her Fiskars Rotary Cutter. The Creative Grids Mats are a great color and they have really great markings.  The mat is double sided and one side of the mat has detailed markings for precise cutting, while the other which can be nice when you are using the lines on your rulers to cut instead. It is important to replace your blades, rulers and mats to keep your cutting accurate and avoid extra wear and tear on each item individually. For a video Esther did with more information on this topic on this click this link. I will also put it into writing as an upcoming blog post in the next week or two. 

Fiskars actually has a new limited edition rotary cutter out right now that I used in my video on Tuesday. It is pink and sparkly and the moment I seen it on the wall I just had to have it. 


The shop ordered a new longarm and it arrived today so Carrie chose that as her favorite product. It is an APQS Freddie and when I left the shop at lunch time she had already enlisted help to get it down the stairs and start setting it up. We will have long arm rentals available in the new year so watch for more details on that. 

I am loving a couple different books right now. The first is the Labor of Love book by Sherri McConnell of A Quilting Life. I mentioned this book back in August when I had made my first quilt from it, but I have made a couple more from the book now and there is also a sampler quilt along happening with the book. The patterns are fantastic and they are all so different from each other. 

Sherri is running the Labor of Love QAL on her blog (visit it here) and I am sewing along. Each week we make one block using the patterns from the book and in the end we will have 12 blocks to assemble into a large lap sized sampler quilt. Block 4 released today and I can't wait to get to my machine to sew it up. 


The other book that has been moved to the top of my favorites is the Charming Baby Book by Melisa Cory. This book is full of great patterns to make baby quilts, or if you don't need  to make any baby quilts you could use them as wall hangings or table toppers instead. I am working on one called Ring Around the Rosie, and have several more picked out. We are sold out of this book at the moment but there are more on order and they should be here this week or next.


Have a great weekend! 

Kayla 

Monday, October 19, 2020

Our Current and Recently Finished Projects

 Things have been busy at the quilt store with classes starting back up, in person, online and Facebook sales, and general shopping, and we love it!

We have also been busy working on new samples for the shop, and all the ones posted here are already made up into kits or will be shortly. 

Esther finished up this In From The Cold quilt using Holliberry Fabric. Those mugs are just the sweetest and make me want to curl up with a good book, a cup of hot cocoa and this lovely quilt wrapped around me. 


Her Norway Quilt using Tahoe Ski Week is nearly finished, she told Carrie and I that it was next on her list of projects to finish off before starting a new one, so we will see soon if that holds true ;)


Esther cut two new quilts out today, one using Pacha and the other using Selva. 


Carrie finished up this First Snow quilt a week or two ago and it feels so appropriate for the current weather outside. Made with a panel it goes together really quick. 

She has also been working on her Midnight Clear Block of the Month, and has been posting her progress here on the blog. Her blocks look so good and I for one am super excited to see it all together. 

Carrie must have winter and Christmas on the brain because she is also working on a quilt using Coy and Joyful by Maureen Cracknell and though I have only seen one block it already looks great!


I am binding this fun little quilt and it is so bright and summery, the fabric is called Hello Sunshine. 

I made a quilt top on Saturday using Hot Cocoa Bar and will get it quilted up hopefully this week. 

This Dresden Plate Runner from the red colorway of At Home also just needs quilted. 

I am also starting a new quilt along on Facebook Live tomorrow so I made the first couple blocks from that this weekend. 

What projects are you working on right now?

Kayla


Thursday, October 15, 2020

Midnight Clear BOM Block 5

 It is time for Midnight Clear Block 5. 

I'm finally starting to feel like we are getting close to the right season to be working on Christmas projects. Do you find it easier to sew Christmas projects when there is snow on the ground, or does it not really matter to you? 


Let's start with cutting. I cut all the pieces the same, except for the squares we are using to make half square triangles, I sized those up to the nearest inch again, in order to have some room to trim my squares again.


My Pieces

For my Half Square Triangles I used my 4-in-1 Trim Tool to square my blocks up, after sewing on either side of the diagonal line marked down the center. 


For the angles on both my red rectangles and my green squares I used my Folded Corner Clipper. Simply line up a white background square on the corner, place the ruler on top, using all the correct guidelines down the middle, up the sides and on the top, then cut and bring to your sewing machine.
I love how I can stack to cut these, and it just saves a couple steps, time, and makes me be confident I will get points and that they will all line up in the end. 


The Components. 

Once you have all your components made, we simply piece the blocks in the same 9 patch manner as the rest. 

My Block 5's

These blocks are so fun! We only have one more set of blocks after this. We are getting so close to seeing these tops finished. I'm excited to see if you have been keeping up or falling behind. Will your quilt be finished for Christmas? That is my goal. 

Carrie will be back with Block 6 on Oct. 29. 


Thursday, October 8, 2020

To Prewash Fabric or Not?

 Happy Thanksgiving Weekend! I am very much looking forward to a few days off with my kiddos and husband and joining our parents and siblings for a couple family dinners. What are your Thanksgiving Plans this year?

We get a lot of questions on whether or not we should be washing our fabrics before we get to sewing and cutting and I thought I should find a little more information on it for you rather than just saying no I do not. 

As I was researching the question I discovered a fantastic blog post written by Carrie Nelson on the Moda Cutting Table Blog, and it summed up all the pros and cons so nicely that I am just going to post a link below and you can read it there, rather than me trying to find a way to summarize it nicely and still hit all the important information. The post was written a couple years ago but I found all the information still very relevant and helpful. 

Find the Post by Moda Here

There will be no blog post on Monday, so the next post will be done by Carrie next week Thursday and will contain the information for the next block in her Midnight Clear Quilt Along. 

Have a great weekend!

Kayla

Monday, October 5, 2020

Woodland Wonderland: Month 4

 Welcome to October, here in Southern Alberta we are actually experiencing fall for a change and it is so nice! For the past few years it has snowed a lot on the first weekend of October so it nice to be having some temperatures in the 20s and getting to actually see the fall leaves before they are covered in snow.

With it being October it means it is time for another set of blocks in our Woodland Wonderland Block of The Month. I am loving pulling this out each month and making a few blocks, and the set of all the finished ones is starting to look really fun!


We are on Chapter 4 of our little pattern booklet already. All the instructions start on page 20.


Although the pattern says that your red solid is added as yardage, when I made up the kits I put it in as a fat quarter, so keep that in mind under the cutting instructions you will need to cut 2 strips, rather than 1 they call for, as you piece is half of the wof. 

Also rather than cutting the strips of green 1, ivory 1, red print and chambray at 3/8ths or 7/8ths  I moved it up to the next increments so 1/2 inch and a full inch and it gave me a little room to trim later on when constructing. 

I used the same colors as the swatches on the bottom of page 20, and in the same order as well. 

The piecing for each block is straightforward. It may help you to lay the pieces all out on your table or a design board to keep them straight, and make sure all the triangles and wreath sections stay pointed in the right direction. 

When making the Pinecone Block, if you cut the full inch as well rather than 7/8ths you can trim the first step 2 section so that there is  a 1/4" seam allowance at the intersection, than sew on piece B press and trim to the size stated.


For the Snow Crystal Block, I stacked the ivory and chambray strips right sides together than cut the squares of each together, this way they were stacked nicely when I went to sew them and I didn't need to line up those little pieces. I also drew a line down the center of a, c, e, and f and sewed a 1/4" on each side of the line than cut them apart, rather than cutting into triangles prior to sewing. Pressing open as suggested will remove a lot of bulk, and make sure you trim those Half Square Triangles before you assemble your block, it may seem tedious but it is so worth it in the end. 


Have fun sewing your blocks,
Kayla


Thursday, October 1, 2020

Midnight Clear BOM Block 4

 We are already at block 4 of our Midnight Clear BOM. If you have been following along and staying caught up this means you should have half of your blocks finished now. 

I love the look of all our blocks so far. I think everytime I finish one I say "Ooh this is definitely my favourite block of this quilt. I love block 4. 

We are going to start with cutting our pieces. For my half square triangles I wanted a little bit more square up room, and I really do not like to cut 1/8's so I decided to round that measurement up to 3", these are cut from our background and our red fabric. For the rest I just cut the sizes exactly as are on the pattern. As I was cutting I realized we have had some extra fabric from all our blocks so far, as far as I can see this isn't used anywhere in our quilt, but I am saving all my extras just in case, and I might just make some pillows or a Christmas table runner for one of my sisters from my left overs. 

To make our half square triangles we draw a diagonal line across the back of our background square, line it right side up with our red square and sew a scant 1/4" on either side of the line. Then cut apart on our drawn line, and I used my 4-in-1 Half Square Triangle Tool to square up again. Since we need them to be 2 1/2" squares I used my 2" finished line on my trim tool. 
Set these aside for now. 
 
Now we need to do a lot of flip and stitch corners. It is very important to pay attention to the direction of your angle in these components of the blocks. I used my Folded Corner Clipper for these, but drawing the line across the diagonal and sewing on the line works well for these too.

Components

Now assemble these blocks as a nine-patch type block. 

Block 4
How are your blocks coming? Are you keeping up or are you just picking up your kits and stacking them up? I will be back on October 15 with Block 5.