This is the last week of our sew along. All we have to do is put the borders on, or if you are like me and wanted to wait, assemble the quilt center and put the borders on.
 For assembling the quilt center I laid out my blocks how I wanted them to be, then you place a sashing section between each block. Make sure you watch which way those “ribbons” point in the sashing row, so they all go the same way and give the ribbon effect.

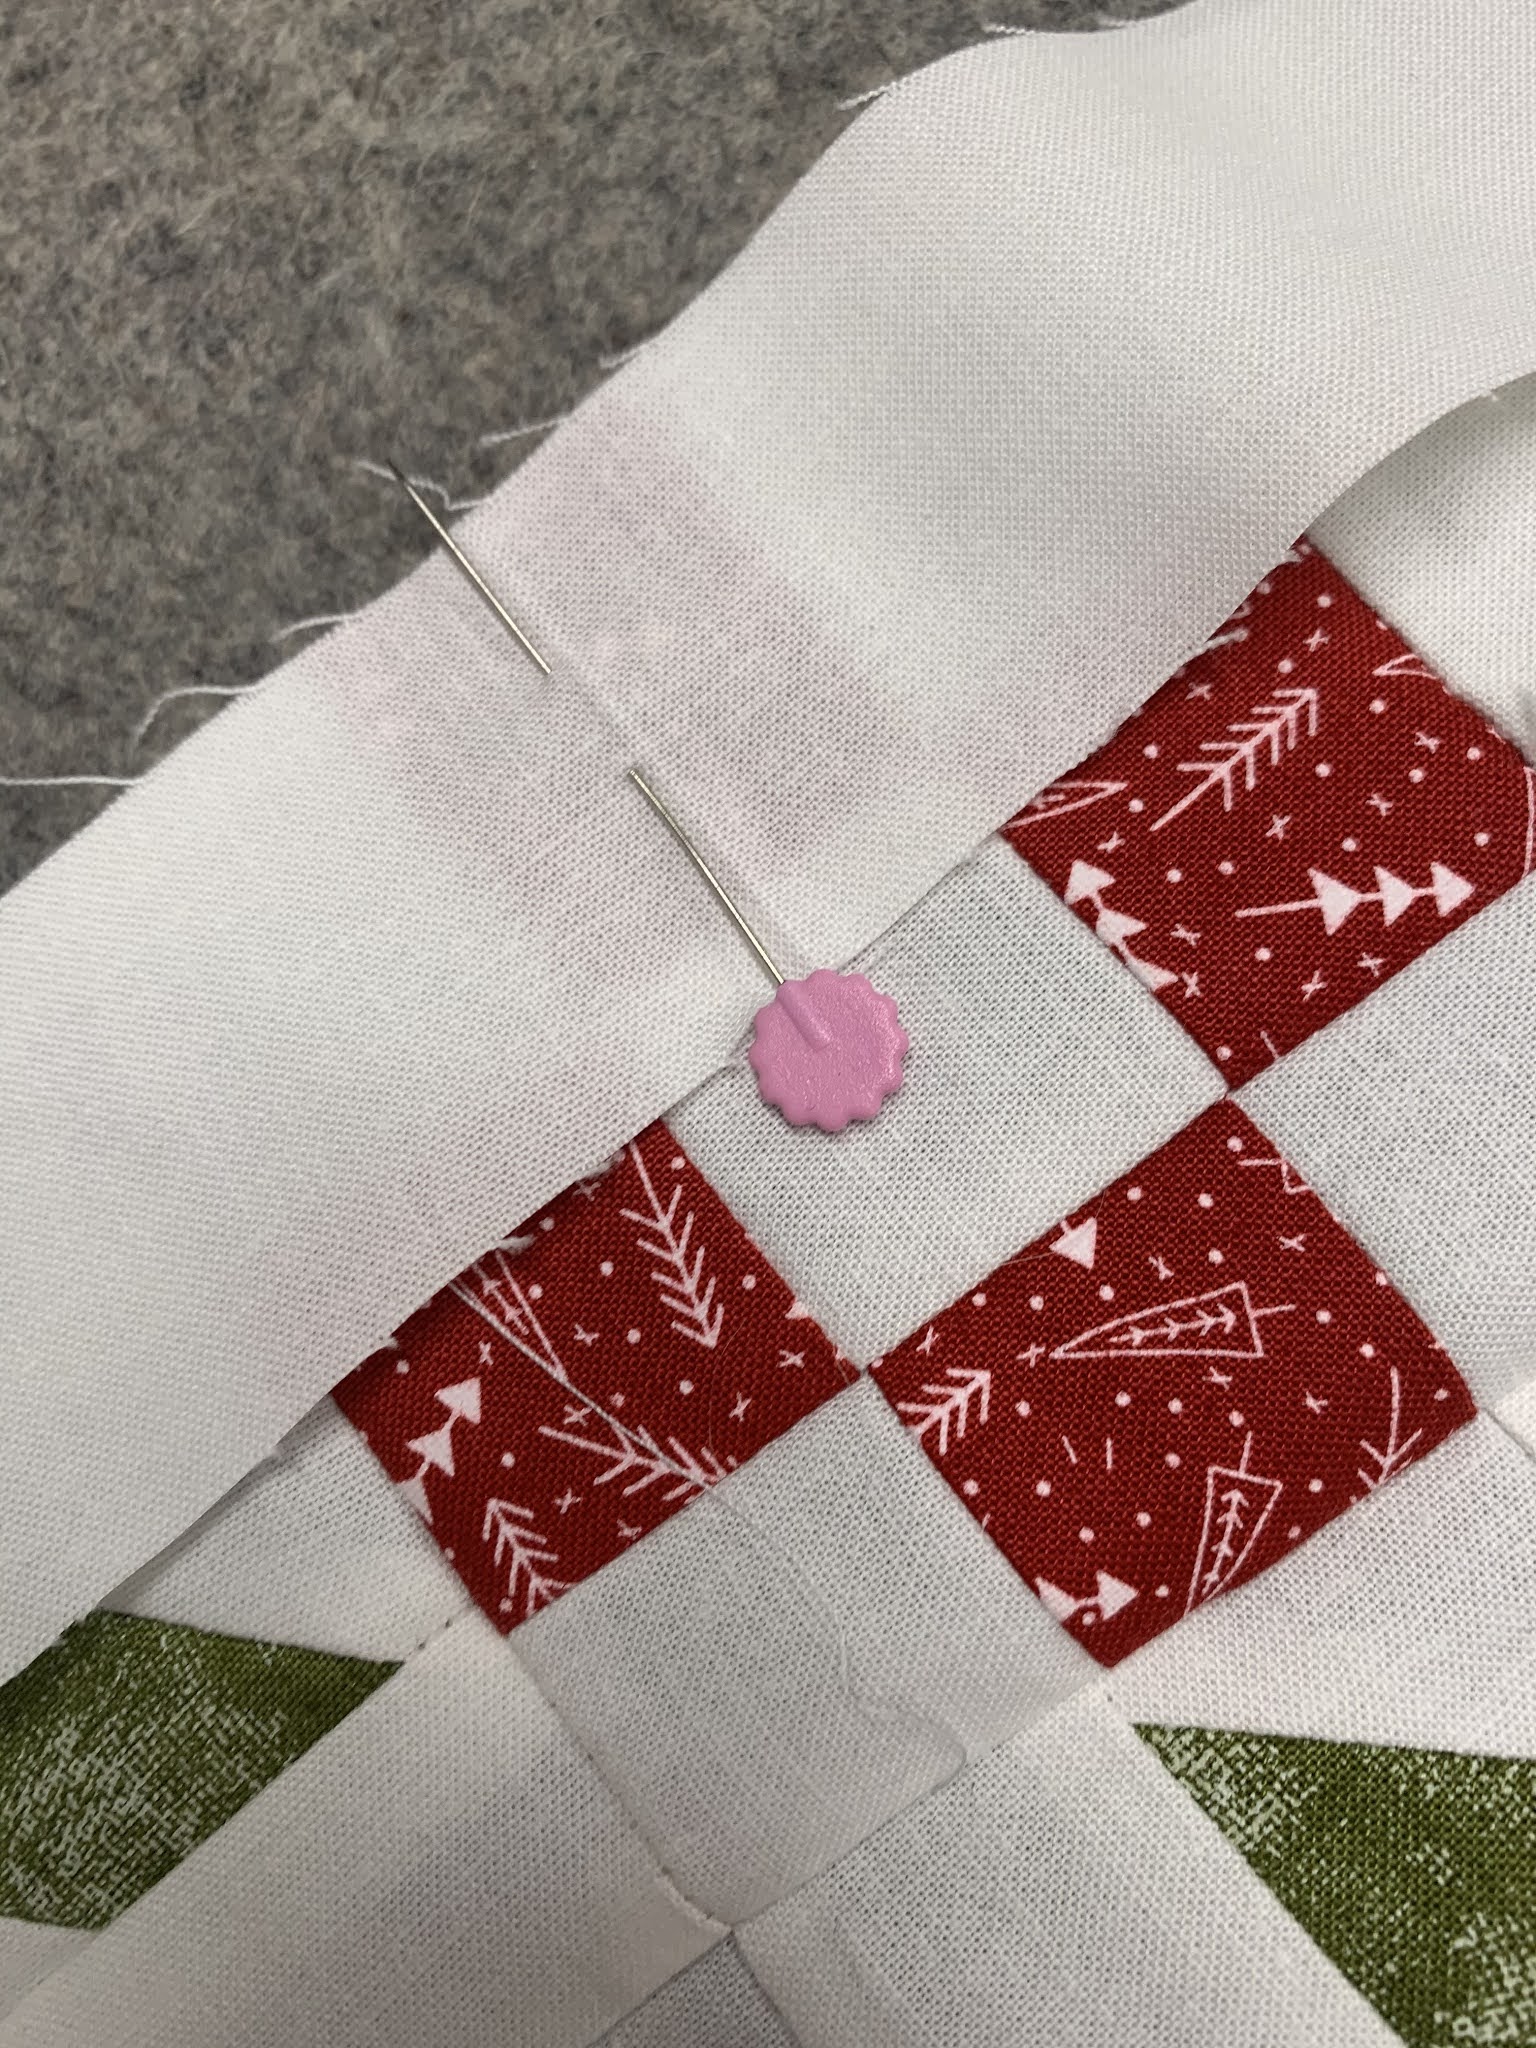
After you have this done, we have to sew the first border on. For sewing borders I like to measure the sides of my quilt center and then cut my borders to size. Once they are cut I pin the centre’s and then again at one point between the end and the center on both sides. This helps me not stretch my borders or my top when attaching these.

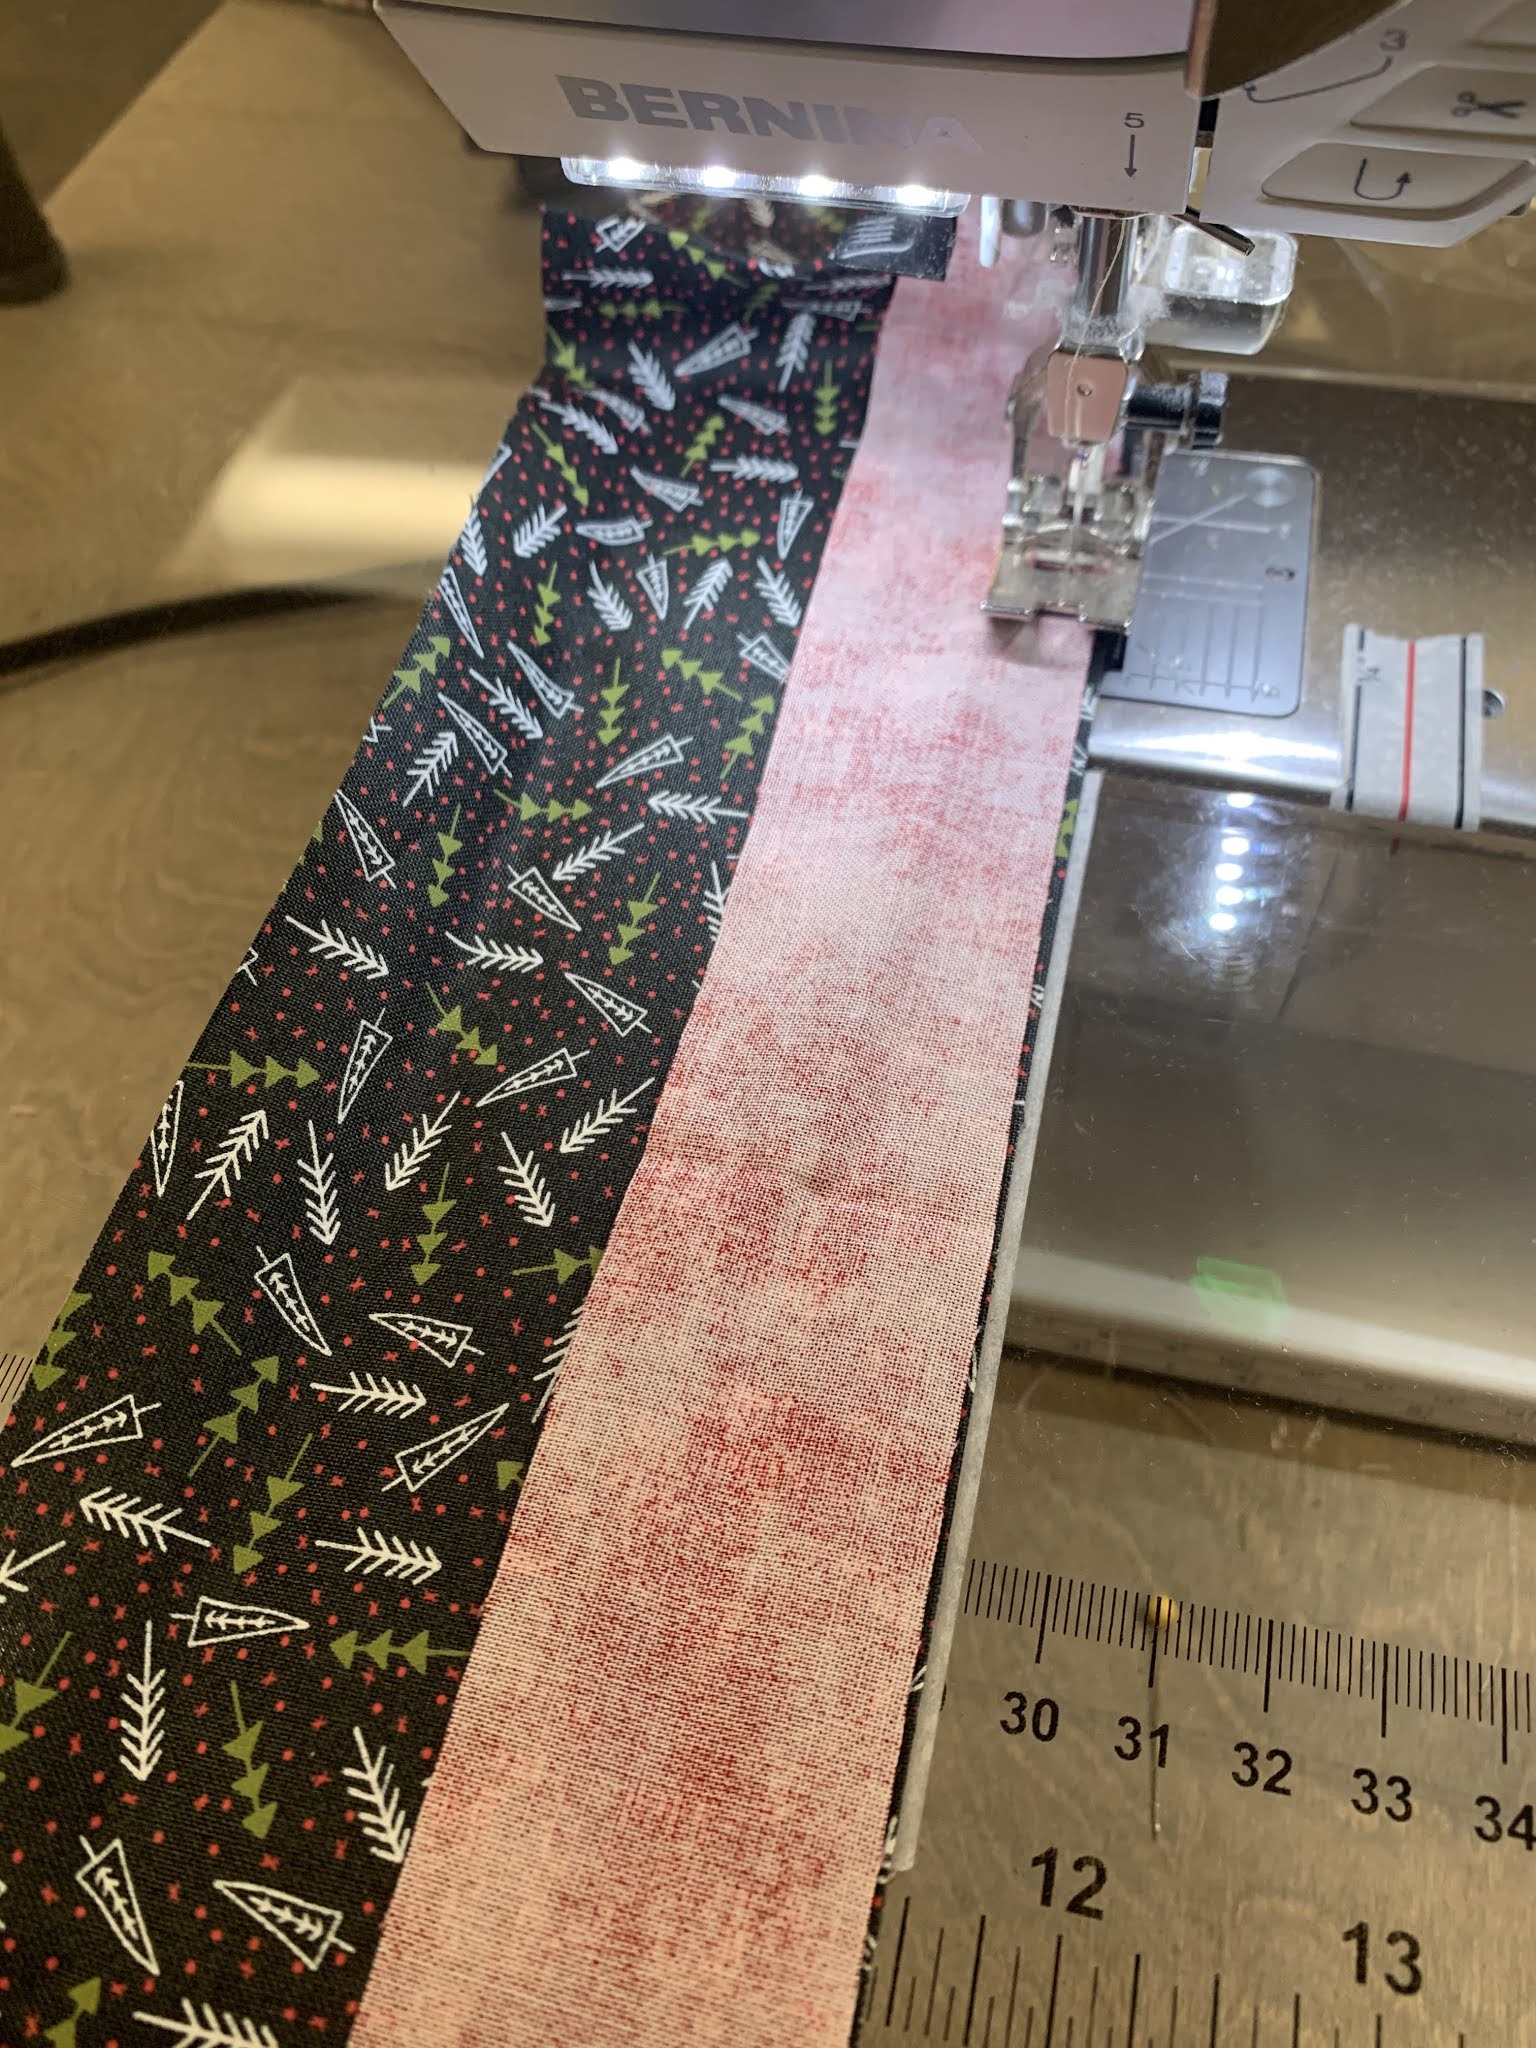
Once these are attached we need to make our corner squares, for these I used my Folded Corner Clipper again rather than drawing the line across.


See how the points nicely line up and nest when attaching the corner square the the top and bottom borders.

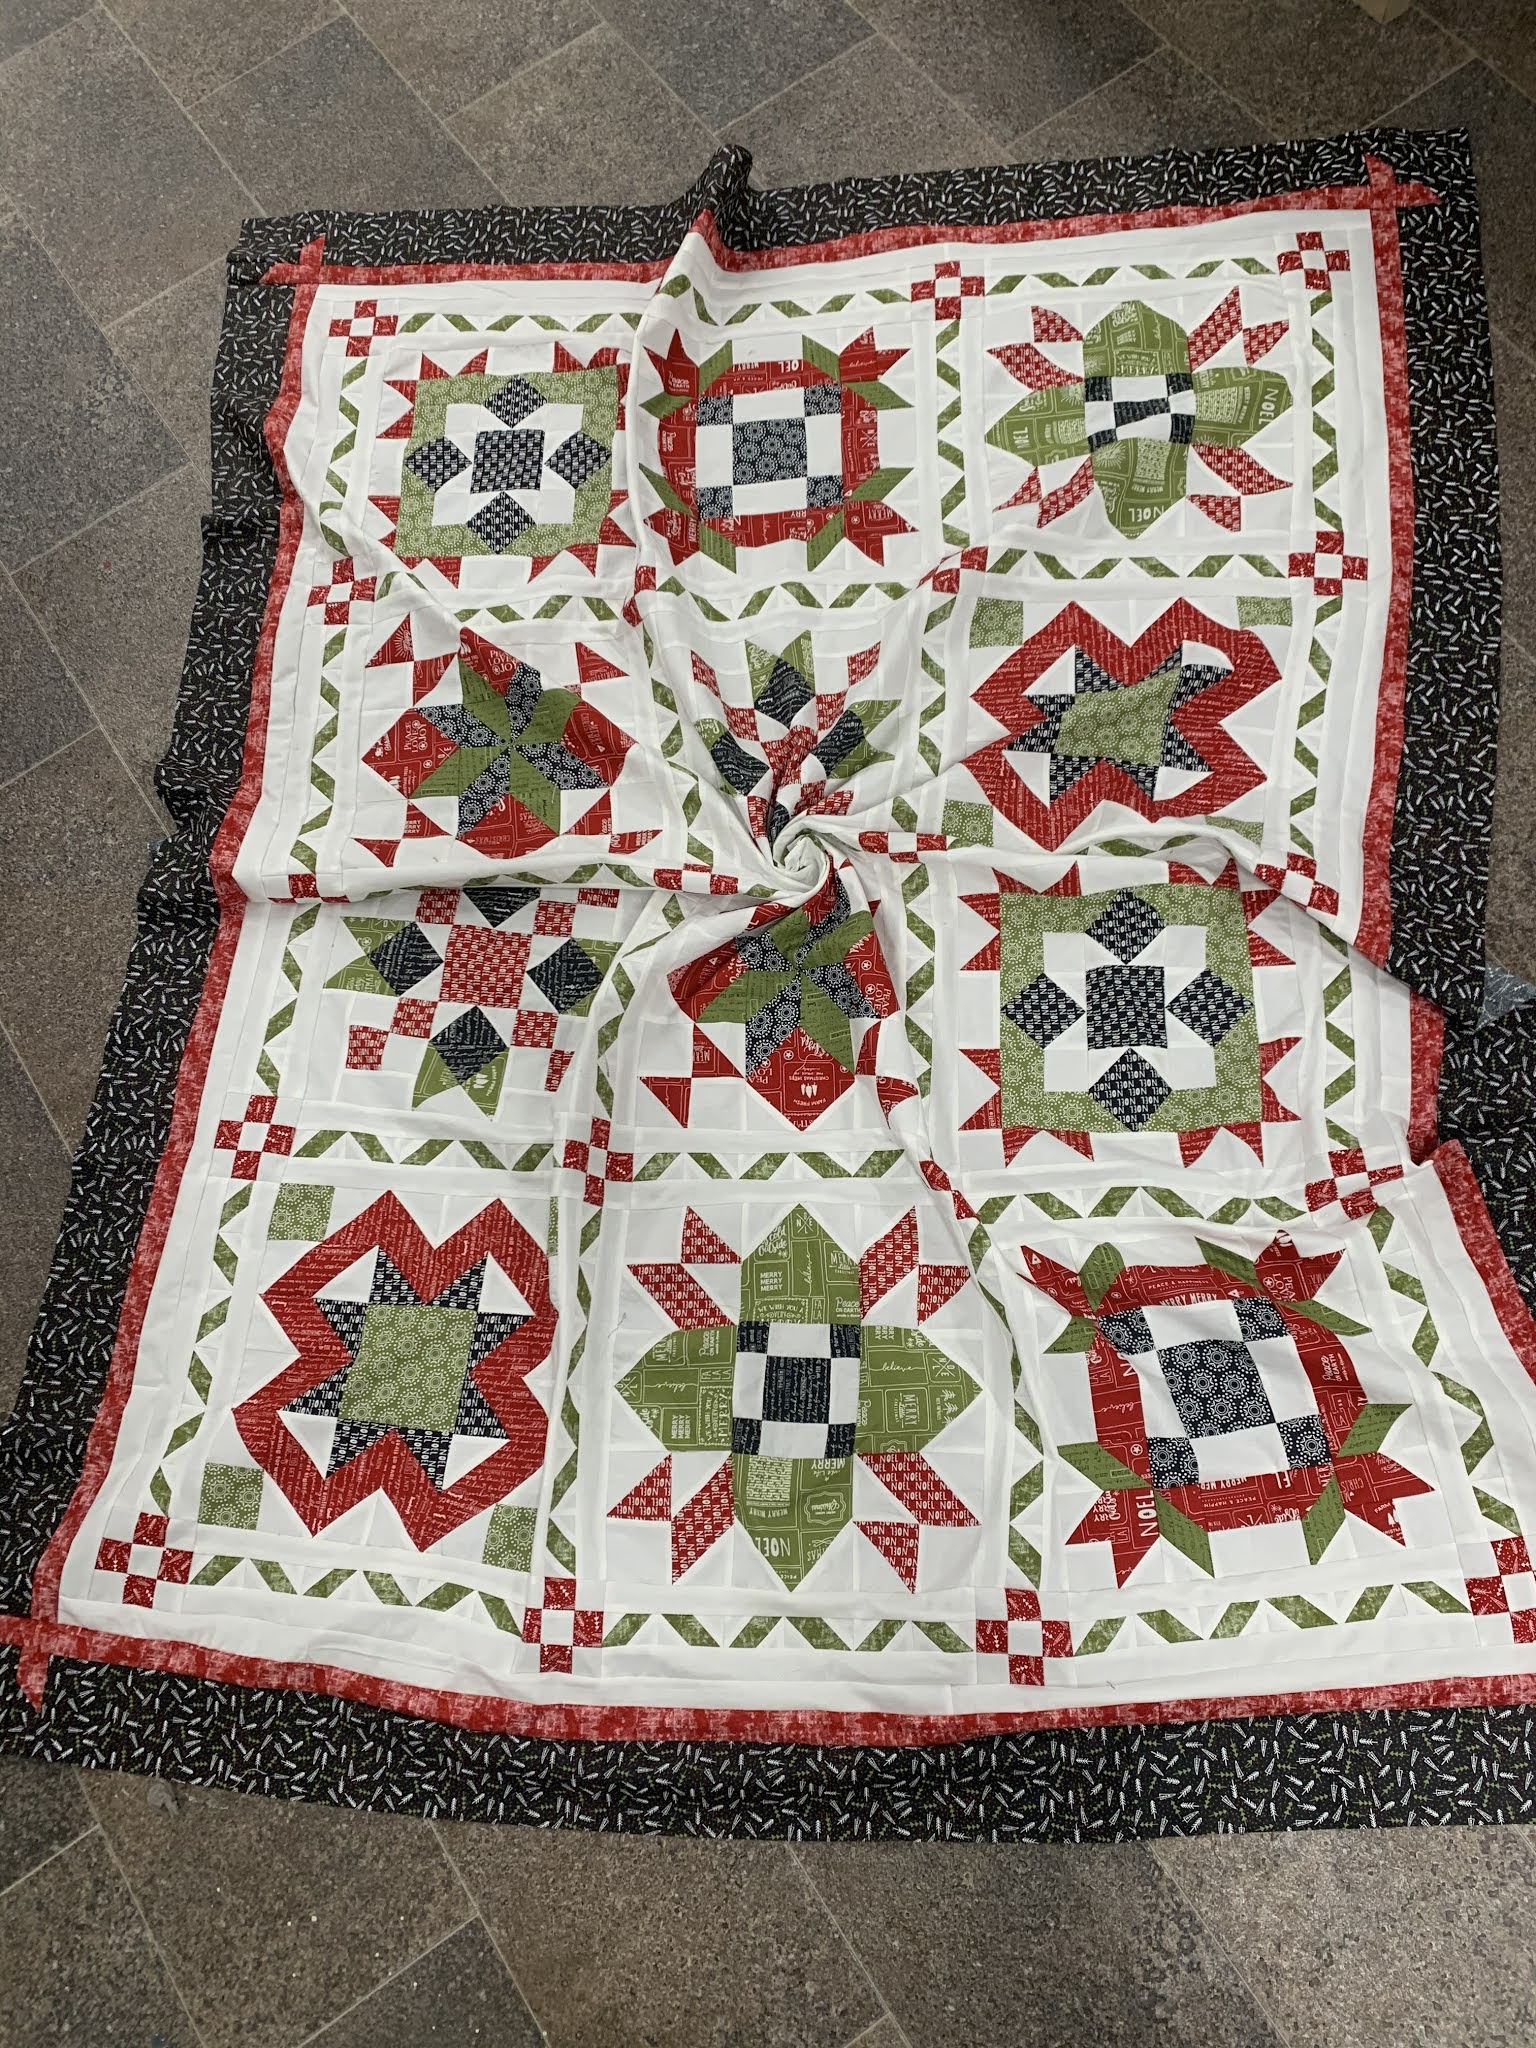
Here is my completed top.
 I chose a green Shannon Cuddle for the back of my quilt. Hopefully I can get it quilted and bound next week. Watch for the photo of it complete to be posted.


Thanks for sewing along with me. I had so much fun working on this. I am already planning my next one, so watch out for that.
.
No comments:
Post a Comment