Happy Monday.
Christmas is coming up quick and for many of us that means it is time to start getting some little gifts together for Teachers, coworkers, coaches and friends.
Over the next little while I thought I would share with you some of my favorite gifts to make.
One of my favorite gifts to make is a lanyard, They are quick and simple to make and take very little material wise. I thought for this one I would write up a little tutorial on how to make one.
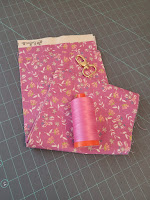
To make a lanyard you will need a swivel hook, a strip of fabric and coordinating thread. You will see the stitches on the top and bottom, so don't forget to change your bobbin thread as well. When making several different lanyards I choose a thread that matches them all so I don't have to load up so many bobbins.
Swivel Hooks come in a variety of sizes and colors. I personally like the 3/4" size the best. 1" hooks work well too but are a little larger for wearing around your neck. I would not go bigger than 1". I also use the 1/2" size especially when making them to wear with my masks (it works really well to clip the lanyard onto your mask when doing errands for the day, you never have to worry about dropping your mask or forgetting it in your car)
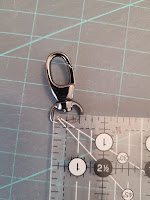
When you have chosen your swivel hook size, you can than figure out how wide to cut your strip of fabric. If you do not know what size of hook you have just measure the inside of the flat ring, in the photo below you can see the one I measured is a 1/2" swivel hook.
Take the size of your swivel hook and multiply it by 4 and that is the width to cut your strip.
For example a 3/4" hook -- 0.75" x 4 = 3" or for a 1" hook -- 1"x 4= 4" strip.
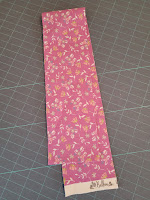
I use a full width of fabric and just cut the selvage edges off. For my kids I usually shorten the strip to about 30"
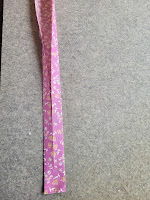
The next step is to press the strip in half with the wrong sides together. Match up the raw edges of the two long sides and press it.
Open it up and fold the two raw edges to the center, they should meet at the crease you just made in the center. Again wrong sides together.
Fold it back in half again and press once more, the two long raw edges should be enclosed in the inside, and it should now be the same width as your swivel hook.
Slide your swivel hook on to your pressed strip of fabric and fold it in half so the two short ends meet. Double check there are no twists in the fabric. I like to use a couple clips to keep it together nice for the next step.
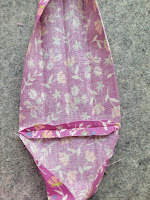
Unfold the fabric at the two ends and line up the edges. Stitch it together at 1/4" seam.
Clip the two corners with a little scissor and press your seam open. Clipping the corners help reduce a little bulk when we fold it back together in the next step.
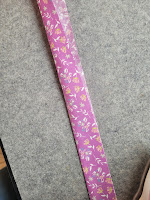
Fold it back together and give it a little press. You should now have one big loop with a swivel hook on it
Now we need to stitch down the two long edges. I like to loop the fabric around the throat of my machine. Sew down the edge of the fabric at 1/8" seam allowance. For me this is the inside of my sewing foot. Slide your swivel hook out of the way as needed. Repeat this for both long edges of your fabric. I like to lengthen my stitches a little for this and change my settings from a 2.5 stitch to a 3.0.
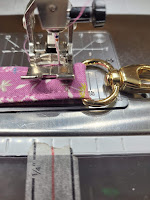
One final step to complete the lanyard. We want to secure the swivel hook in one place to keep it from sliding around. To do this position the swivel hook where you would like it (I usually put it very close to the seam that connects the two short ends of my fabric) and stitch across the fabric to secure it in place. I like to move my needle over to the right to get a little closer to the swivel hook. Sew over it back and forth a couple times so it is nice and secure.
Ta da! you now have a completed lanyard! A great gift by itself or paired with some other small items.
Thank you for reading this little tutorial.
Have a great week. Kayla


No comments:
Post a Comment