SXLLM
Tonight I have question for everyone. Do you cut your borders to the exact length and sew them to your quilt? If so do you pin them in place? Or do you like to wing it, and trim the extra length afterwards. I admit I used to just make sure my border strip was longer than I needed, sew it on and trim it when I was done. I could not be bothered to spend the extra time measuring the quilt, measuring the border material, cutting and than pinning it in place, by the time I reached the borders I wanted to be done. The problem was I always ended up trimming a little more off of one side than the other and my quilts were not as square as they should have been, especially those with multiple borders. I never even attempted borders with fun set in corners or centers because I was certain they would not line up.
MLXLS
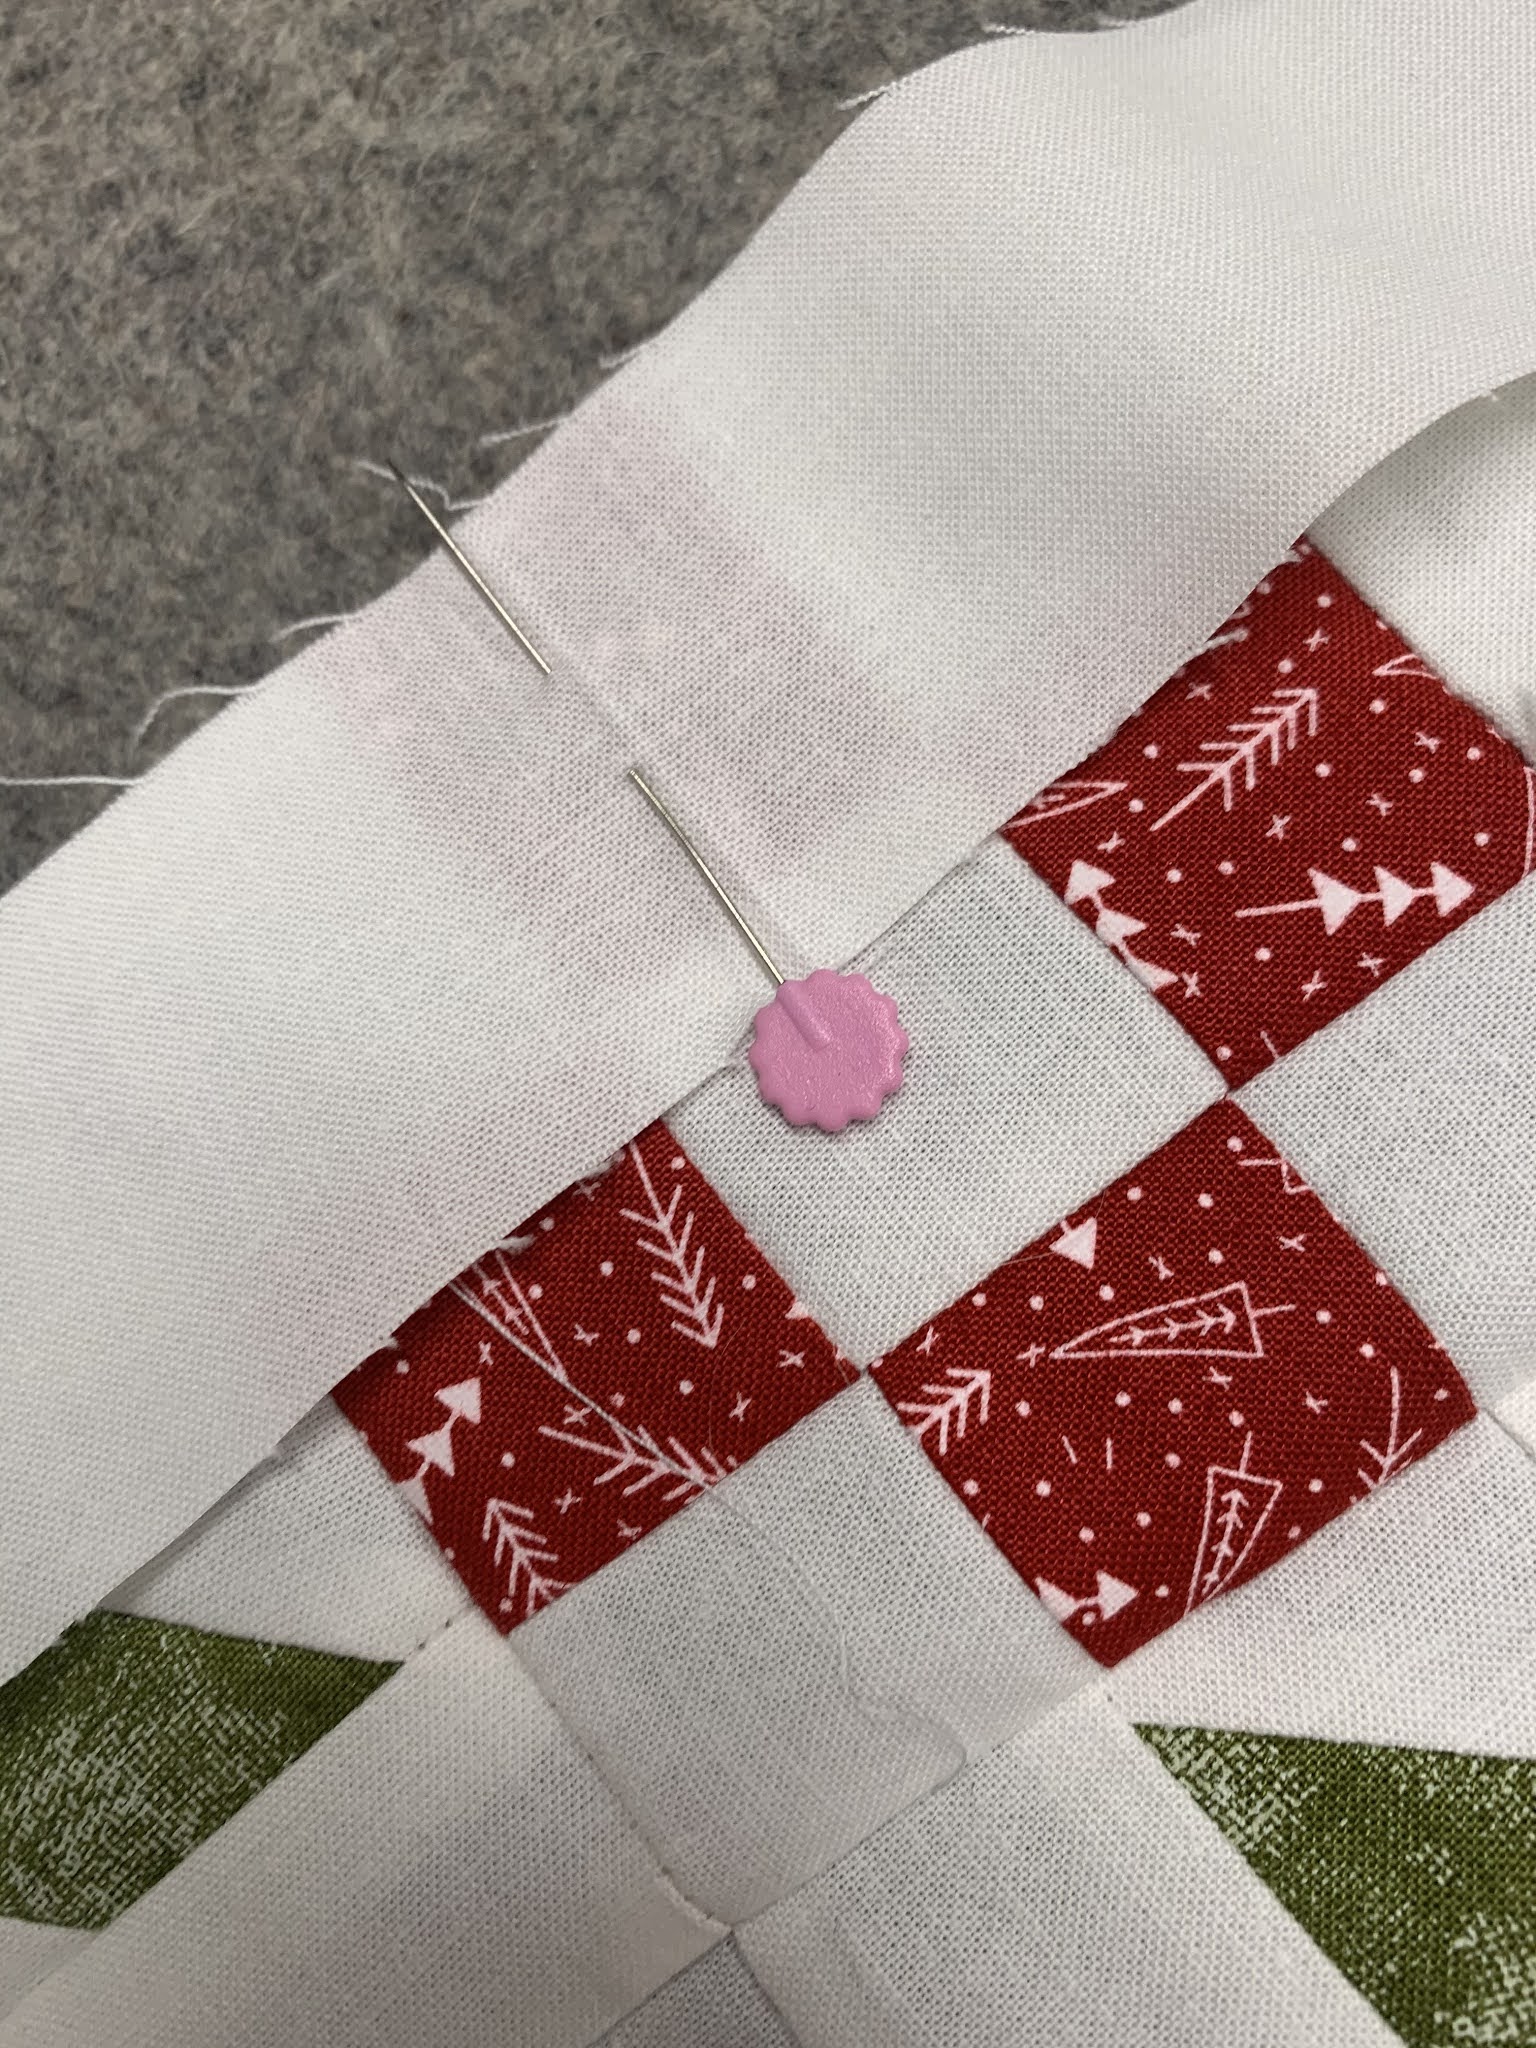
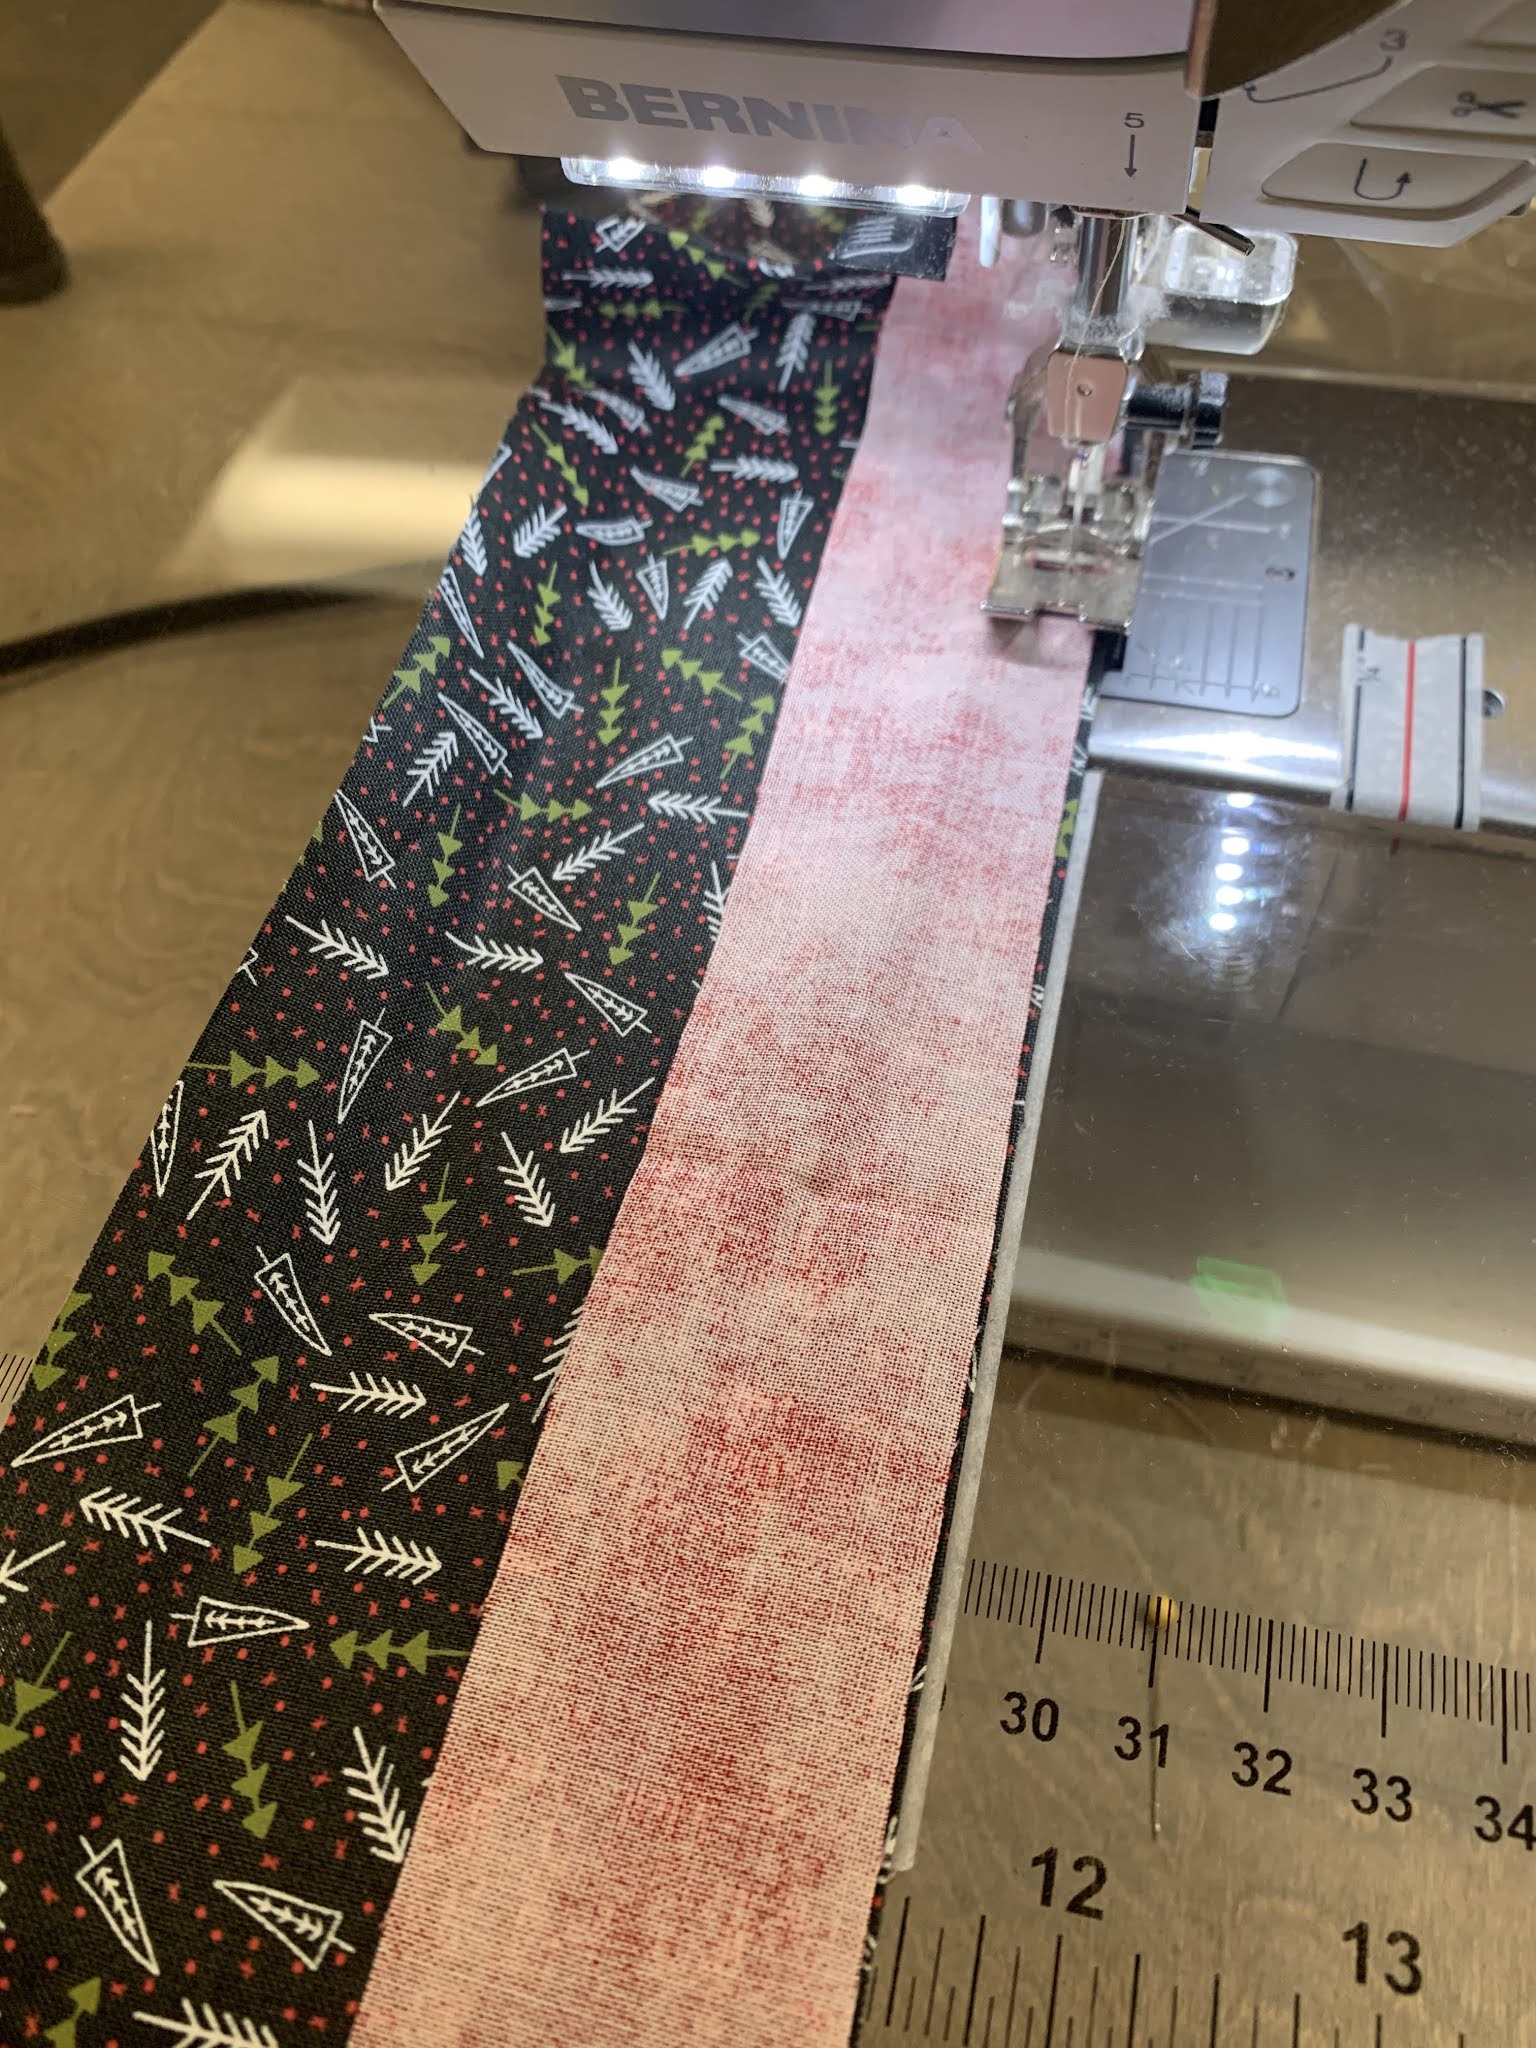
I have mended my ways. I now diligently measure and cut the borders to size before they are stitched on. I start with the center of both my quilt and border strip, and clip this in place. Than I work outwards clipping every 10 inches or so, if needed I will ease extra fabric in so I stay square. I say clip because I use wonder clips, have I ever said how much I love these things! They are amazing, I have over hundred of them and use them all the time, if you do not have any you should definitely give the wonder clips a try! Anyways back to the borders. When you are clipping or pinning the strip in place you can be a lot more confident that your quilt will finish nice and square, and surprisingly it does not take that much extra time. As an added bonus if you have someone else do the longarming for you, they will love your quilt! I speak from experience here, quilting a quilt on which the edges are the same length is a lot easier than one that is out a couple of inches.
MXLLS
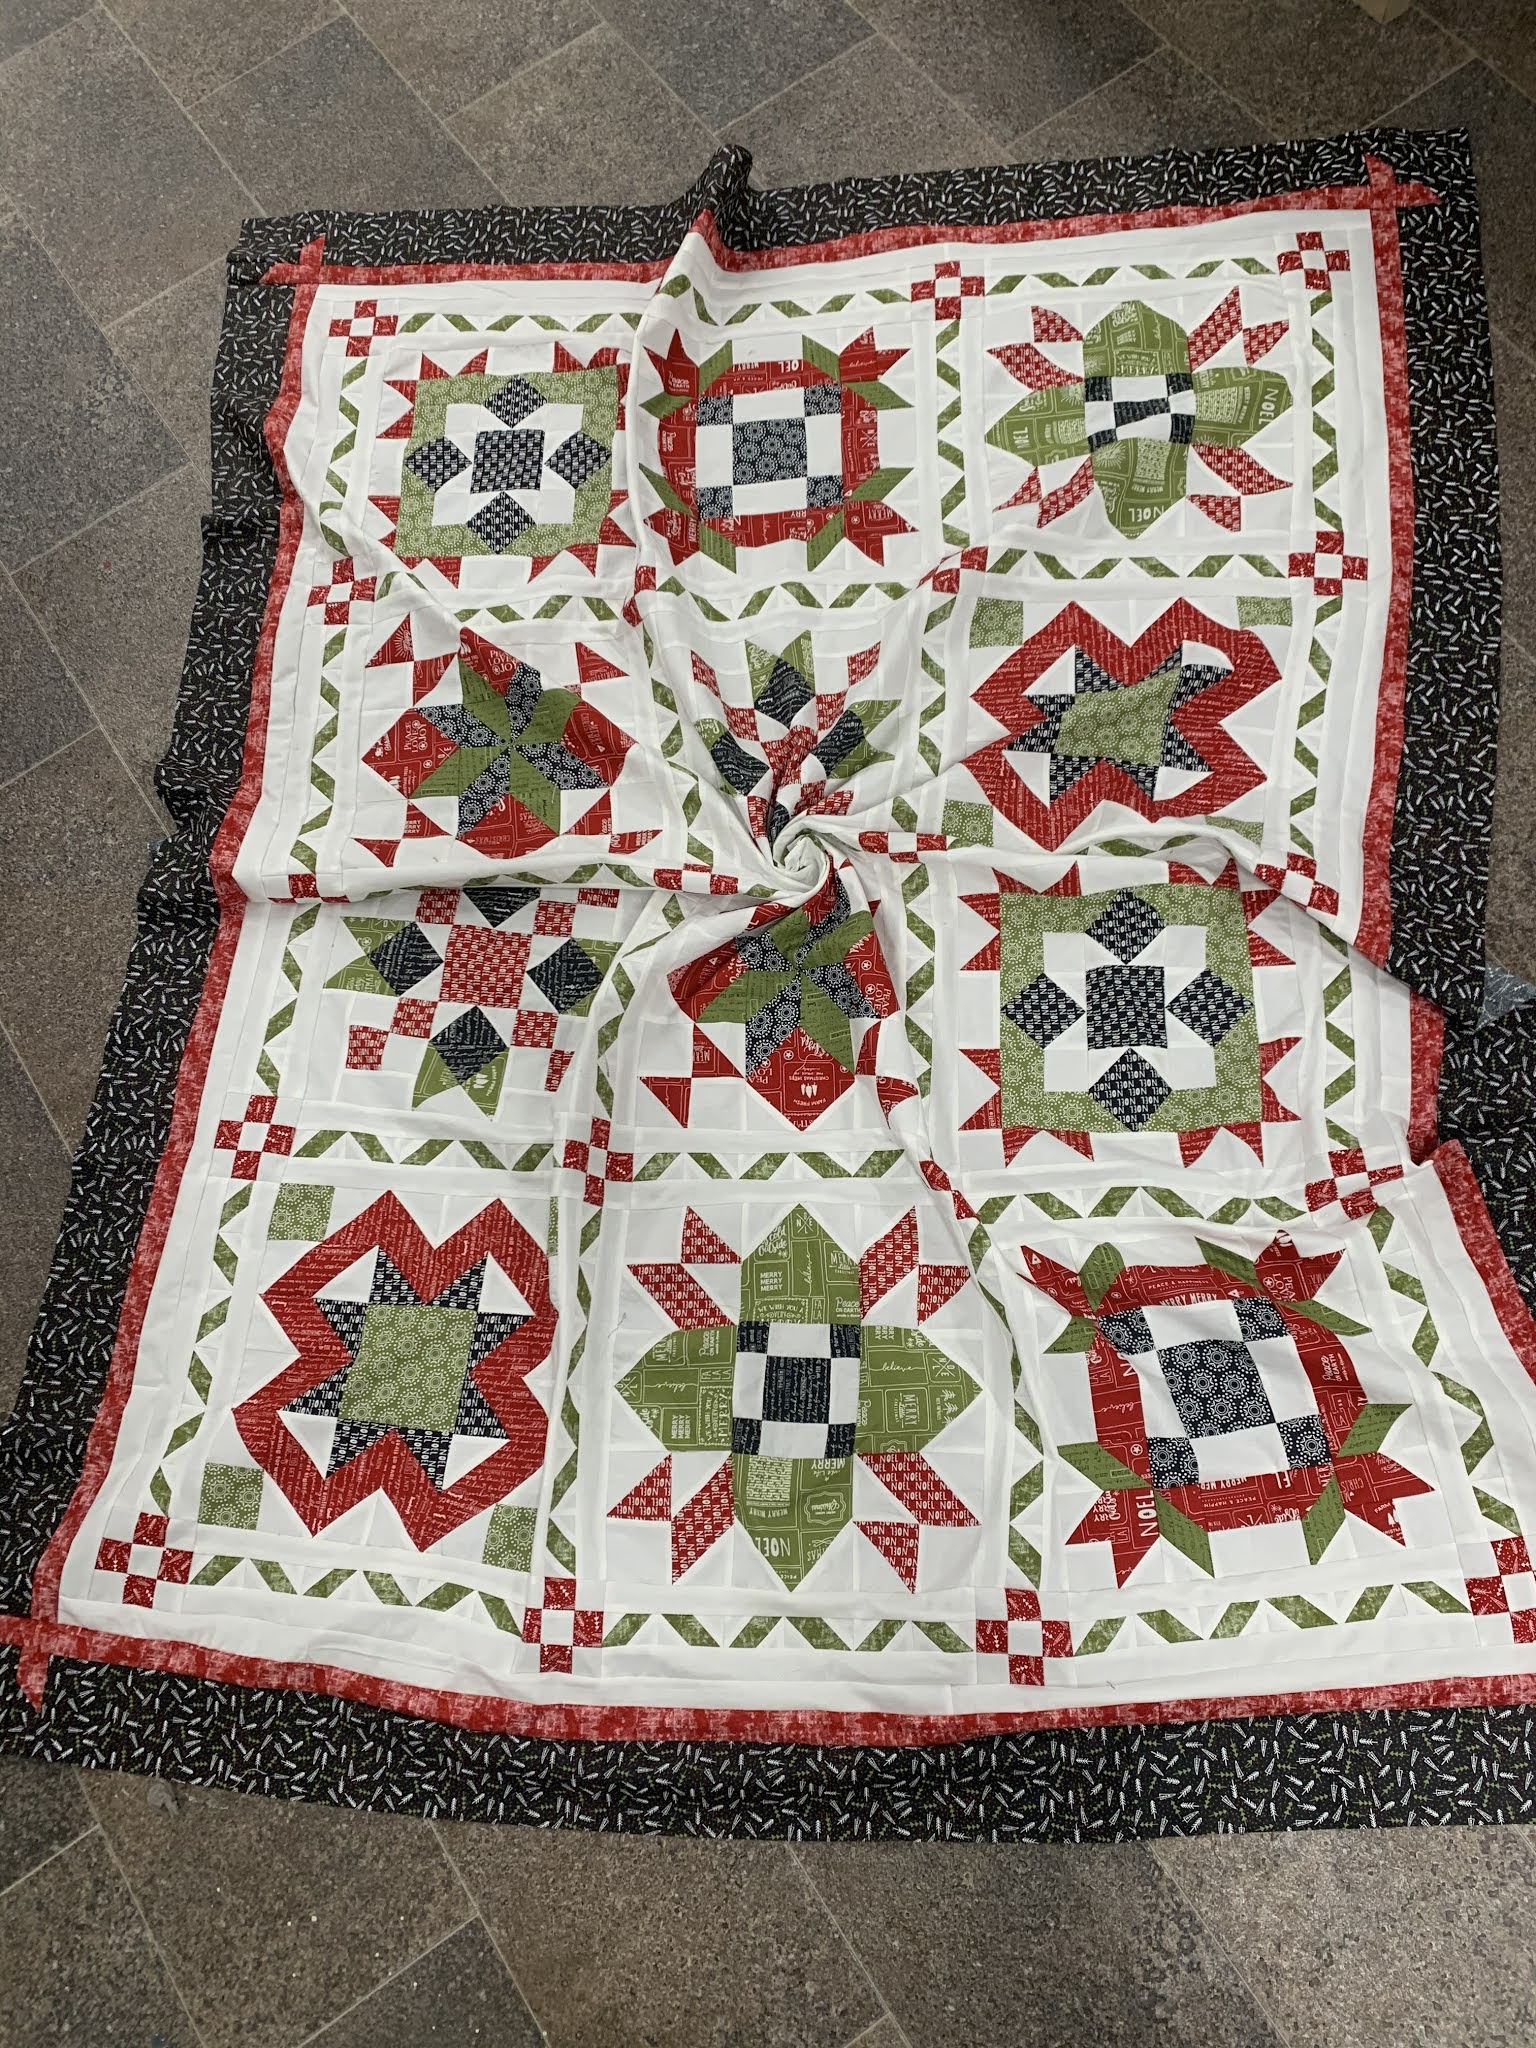
I can tell you with complete confidence that the last quilt I did would not have been square if I had not measured, cut to size, and pinned each strip. The quilt started with a panel that I added some blocks to and than after that is was border after border until it was the right size. The final border I decided use some extra blocks from the panel and put them in the corners knowing that the corners would line up neatly. If I had wung it I am sure that I would have one side at least 3 inches longer than the other. After all that's only half an inch additional each set of borders, it adds up quick. But it is exactly 101" on both sides and 96" on both top and bottom! Win!
Now time for another question, if you were in the latter category at the beginning of this post will you jump over to the other side or keep going with winging it because it works for you?
Esther has left on her trip, she is gone for a couple more weeks, which means there is lots more daily deals to come! Every day that we are open while she is gone we will post a new daily special on Facebook. The special is good for one day only and while supplies last, no rain checks. If you do not have Facebook feel free to call the store and ask what is. Don't ask about the upcoming ones though because we have no idea what they are. You can also place a phone order but it must be paid for by credit card at that time.
I will be joining Esther next week and so there will be no blog posts Friday, November 17, Tuesday, November 21, and Friday, November 24.
Also we will be closed tomorrow (Saturday, November 11) in honour of Remembrance Day. Have a great weekend everyone.
Kayla
 For assembling the quilt center I laid out my blocks how I wanted them to be, then you place a sashing section between each block. Make sure you watch which way those “ribbons” point in the sashing row, so they all go the same way and give the ribbon effect.




 I chose a green Shannon Cuddle for the back of my quilt. Hopefully I can get it quilted and bound next week. Watch for the photo of it complete to be posted.