Showing posts with label block of the month. Show all posts

Monday, January 4, 2021

Woodland Wonderland: Month 7

 Happy New Year Friends! I hope you all had an enjoyable Christmas and New Years break. Ours was busy even though we couldn't get together with anyone because of the current limitations here in Alberta. We had a Christmas Dinner with just our family, ate a lot of big brunches, had lots of movie nights, watched a lot of hockey, played a lot of board games, did some more work on our basement, and stayed up until midnight on New Years Eve (all four boys! lets just say New Years Day was quite lazy)

Now it is time to get back into a regular routine which I am looking forward too.

I did get some sewing done over the break, and one of the projects I finished was my Woodland Wonderland Quilt. There was just one chapter left, and so I will share the details with you now. 

Chapter 7 starts on page 34 of our booklet. There is a lot of work for this month, we need to make a couple more blocks for the quilt top, as well as some filler blocks and than we get to finally assemble the quilt top! But if you just work through step by step it is a lot less overwhelming!

First up the blocks. We need to make 2 skinny tree blocks and 1 Starburst Block. They are straightforward to make and the trees especially come together quickly. The starburst block is a little more work, but it is a bunch of small units that you make and put together and all of a sudden you are out of pieces and your block is finished. 

This completes all the main blocks for the quilt! 

Next up is the assembly of the quilt top, and the making of filler blocks. This is the overwhelming part if you look at all of it together, and I actually put it away twice thinking I did not have the mental capacity to work on it. But I finally told myself I had to have this quilt completely finished for January 4th so I better get to work, than I opened it up and just started. 
To be honest I did not cut all my background up at once, I just did it as I went along, this was for a variety of reasons, one of them was I felt like sewing at the time not cutting, but the other reasons are listed where applicable below. 
It would probably be faster to do it all once, but if you do just be sure to label each piece as some of them are very similar in size. 

The top right section gets made first. Don't worry about any of the others just focus on one at a time. You have to make the flying geese filler blocks as stated on page 38 and than use your previously made blocks, and some filler strips to get your section made. There are no steps to follow for the order of assembling this or any of the sections, you just have to look at the diagram. Start with the smallest pieces and build it. This one start with the star, add your flying geese, and add filler 4 above it. Than sew your 3 twinkle stars together with the filler piece 7 and add to the bottom of the first section, add filler 10 to the bottom of that, than sew on your Owl, and finally add your starburst block.

Once the top right is done you make the top left. 

This one has some checkerboard filler rows to make. The pattern has you cut the checkerboard pieces into small squares and than assemble them into rows. Instead I strip pieced mine. So I cut the strips of fabric to 1.5" wide and than sewed them together along the long edge. I pressed towards the background fabric. Than I cut the pieced strip in half and joined the two sections together again on the long side, repeating until I had the correct number of squares, than trimmed it to be the correct width. I did this for the small rows and the big long one, (the big long one I used 1 red strip, 1 green strip, and 2 background strips, sewing the red to a background, and the green to a background, and than sewing those two sets together before doing any cutting) I forgot to take pictures of this so I hope it makes sense without. I would not have been able to this if I had cut all the z background squares as directed in the background cutting directions. 

One the checkerboards are made, assemble the rest of the section. Again there is only an image to follow so just start with the smaller pieces, making rows and sections that can be combined. 

The Churn Dash filler row I put off for awhile but it actually came together really quick when I put my mind to it. A couple notes for this row. I did not cut my a or x squares on the diagonal before sewing. Instead I marked with a pen and sewed on either side of the line and than cut them apart. That is just personal preference but I thought I would share it with you. It also has you use some slightly bigger seams or trim blocks to make it fit. I chose to take 6 of the 8 zdz units and trim them down an 1/8th and than sewed all the units together. My row fit into my quilt really well. 

The gnome and mushroom section goes together really quickly and easily!

The flower and stem sections we mostly assembled already earlier back in Chapter 5, we just need to make the stems a little longer. Be sure to keep your pieces organized for this section, it is really stressed in the pattern too. 

Now we get to put all our sections together. Here I measured my sections before cutting my filler 7 strips so that they fit together nicely, mine were actually a smidge longer than they should have been, so I was glad I hadn't cut the filler strips at the start. 

I chose not to make the flying geese border, and instead added a small border of background fabric on all four sides of my quilt. I used up small pieces of background fabric wherever possible when making my quilt so I had enough yardage leftover to do this. If you like this idea, just be sure to see what you have left and than divide that into 6 or 7 before cutting so that you don't run out after cutting the first 5 strips. For reference mine were cut 2.5". 

I quilted my quilt with an orange peel pattern and used the solid red binding to finish it off, the backing is white Fireside. 


I loved making this quilt and hope you did too! 

Carrie will be back on Thursday with the first blocks in her new quilt along. 

Have a great week, 

Kayla


Thursday, December 3, 2020

Woodland Wonderland: Month 6

We are now on Month 6 of our Woodland Wonderland Quilt. This month is fun with lots of different blocks. We get to make more trees, stars, the hedgehog, and a branch for owl to perch on, and we get to assemble another row!
For the Snow Tree Blocks I went back and looked at the ones we made in Chapter 3 and made sure I chose different greens than I had already used, for the rest they go together the same as in Chapter 3 so nothing new. 
Same with the Sawtooth Star block we need to make. One thing here, my book has a typo and it says use Chapter 3 to make another block, but we actually made them in Chapter 1 so flip back to the first chapter for all the instructions. I actually made 2 this time, as I had two from earlier with the same center, and I decided I would rather have all 4 be different. 
Than we get to assemble the Snow Tree Blocks and the Sawtooth Stars into one row, I love putting rows together, it feels like I am accomplishing something and getting near the end!
The Twinkle Star block is fun, and was a different construction than I normally use for this type of block so that was neat. It came together really nicely, just follow the diagram to assemble the block in the right order, starting with A in the center. 
The Hedgehog is next! I love this block so much. It is so cute and though it has lots of pieces goes together really nicely. Just be sure to keep each piece straight by labelling or neat piles as you don't want to put them into the block wrong. Also when putting k and p onto f the diagram shows them with space in between, I did not have this space, but when I sewed it into the block there was a space because of the seam allowance. So my final piece looks the same just not the initial diagram. 
One more thing to make yet this month, the branch for our Owl, this is quick to make and adds a special touch to the owl, making it even cuter.
Next month we have a lot of work ahead of us with blocks to make, filler rows to piece and the final assembly!
Have fun sewing up your month 6 blocks!
Kayla


Monday, November 2, 2020

Woodland Wonderland: Month 5

 Welcome to November, my son turned 9 this weekend so we had a busy weekend of celebrating! 

This month we are working on chapter 5 of our Woodland Wonderland Block of The Month. This month there is quite a few different blocks to make. We are going to add some more leaves, and piece them into rows with a winter bloom block. We are going to add another super cute large mushroom block and make the gnome which is so adorable!


With the instructions for some of these blocks being in early chapters we are going to be flipping around in the book a bit. 

The instructions begin on page 24. 

After cutting we are going to start with more leaves. We did this back in month 2, so we will just repeat that to make a few more with some new greens. Since we need to pull some of our old greens as well, I suggest taking out the previous leaf blocks and seeing which prints you want to add more of before cutting them all. 

Than we get to connect them to make our leaf and stem blocks. There is a lot of seams when connecting all the leaves so make sure your seam allowance is accurate or it will not measure the same as your stem. 

The winter bloom block is straight forward. Be sure when adding the e and d fabrics to a, that you are sewing corner, if you are off your little unit will be a little wonky. I used the diagonal seam tape from Cluck Cluck Sew to sew mine and avoid drawing the lines. And don't get going and forget that your fourth corner is a different fabric.

The mushroom block goes together the same as back in chapter 1. But you have more variety to choose from for the top. I went with the chevron looking red print for mine. 

The Gnome is really fun to make and turns out so cute! 

When making the hat make sure you press the h fabric out and trim from the wrong side before cutting back the underlying fabrics. Otherwise it may be a little more difficult to get it trimmed to the correct size. So sew on the marked line, press the h fabric, flip it over and trim all 3 layers to match the red, than flip it right side up again, fold the h down again, than trim the excess, and press the h back again. 

That is it for this month. This stack of blocks gets cuter each month! 

Have a good week. 

Kayla

Thursday, October 29, 2020

Midnight Clear BOM Block 6

 Wow! I realize this is a really late post. I had a busy day and time got away from me, and as I was getting ready to go to bed I realized I never wrote the blog! Today consisted of fixing a longarm, pricing new products, a mail run, and then off to my brother and sister-in-laws for dinner, which quickly turned into the rest of the evening. 

It is time for our last block set of our Midnight Clear BOM. Block 6! Crazy too think we are that far already, and that close to Christmas! 

Block 6 was a fun one. There are quite a few flip and stitch corners, and a few half square triangles. 

For my half square triangles I adjusted my cutting sizes and rounded up again. I would rather cut too big and have room to square than cut those pesky 1/8”. Sew on either side of the drawn line and then I squared my half square triangles using my 4-in-1 half square triangle trim tool.  

Then for all the stitch and flips I used my Folded Corner Clipper. I love this tool so much, and it is one that I always have with me when quilting, and always pull out. Mine had been getting a lot of use lately, it seems I’ve chosen a few projects that have a lot of those stitch and flips in there. 

I love how all these blocks are composed of very similar parts and come out looking so different. And how a stitch and flip can look so unique from one block to the next, and same with a HST.
Here are my block 6’s. 
Are your ready to construct sashing in two weeks? 

Have a great weekend. Hopefully the next time it’s my turn to write the blog I won’t forget and suddenly remember at bed time 🤣
Carrie will be back November 12 with the sashing rows. And she is gonna remember earlier. 


Thursday, October 15, 2020

Midnight Clear BOM Block 5

 It is time for Midnight Clear Block 5. 

I'm finally starting to feel like we are getting close to the right season to be working on Christmas projects. Do you find it easier to sew Christmas projects when there is snow on the ground, or does it not really matter to you? 


Let's start with cutting. I cut all the pieces the same, except for the squares we are using to make half square triangles, I sized those up to the nearest inch again, in order to have some room to trim my squares again.


My Pieces

For my Half Square Triangles I used my 4-in-1 Trim Tool to square my blocks up, after sewing on either side of the diagonal line marked down the center. 


For the angles on both my red rectangles and my green squares I used my Folded Corner Clipper. Simply line up a white background square on the corner, place the ruler on top, using all the correct guidelines down the middle, up the sides and on the top, then cut and bring to your sewing machine.
I love how I can stack to cut these, and it just saves a couple steps, time, and makes me be confident I will get points and that they will all line up in the end. 


The Components. 

Once you have all your components made, we simply piece the blocks in the same 9 patch manner as the rest. 

My Block 5's

These blocks are so fun! We only have one more set of blocks after this. We are getting so close to seeing these tops finished. I'm excited to see if you have been keeping up or falling behind. Will your quilt be finished for Christmas? That is my goal. 

Carrie will be back with Block 6 on Oct. 29. 


Thursday, August 20, 2020

Midnight Clear Block of the Month: Block 1

Today is the first day of the Midnight Clear Block of the Month, so Carrie is here to share her block 1's, and her tips and tricks for making them easier. 

For this week we are making 2 block 1's. When I first opened my book to block 1 I was a bit intimidated by the look of the block, but the pattern is broken down really well. and you just have to make 3 components and then piece them together as a 9 patch. 

First for color placement. I followed the color placement exactly as they have it in the pattern. I just think that this gave the block a really cool effect, you could easily switch them up if you wanted to though. 

For cutting. Anytime there is an 1/8th measurement I round up, and trim later. That is what I did here as well. I cut 3" instead of 2 7/8"s so that after I piece the half square triangles I have more room to square them up. For the rest of the pieces I cut as the pattern said and then labeled them with my Alphabitties to keep them straight. 

Now for making the half square triangles. I don't know about you, but whenever I mark a line down the center I have a tendency to sew on the line instead of on either side. With my Creative Grids Marking Tool I can easily draw 1/4" on either side of the center and then sew on the line. If you haven't already noticed I am a fan of tools, so to square my half square triangles, I used my Creative Grids 4-in-1 Half Square Triangle Trim Tool. All markings on this tool are in finished sizes, so I put the 2" line on my seam and squared them up. Then you simply make the 4-patch Units. 

For the Pinwheel unit I followed the same steps as above to create my Half Square Triangles and then again simply assembled my 4 Patch Units.

The next unit is a Square in a Square block. To make these I put my red square down, then placed my white square and my black square in opposite corners. I used my Folded Corner Clipper to help me make these flip and stitch corners and this worked really well for me. Do this again with the other white square and green square. 

 
Now all that is left is assembling your units into blocks and you are finished. 


Have fun sewing up your blocks, I will be back with block 2 on September 3rd. 


Thursday, August 13, 2020

Midnight Clear Block of The Month: Introduction


Carrie is starting up a new block of the month program and she would love to have you join her. 

She was looking at books on the shelf and found a book called Holiday Wishes from Sherri Falls for This & That Paper Company. She will be creating the Midnight Clear Block of the Month (it is the quilt pictured on the cover of the book, and is shown below) using The Christmas Card fabric from Sweetwater Fabrics. The Quilt finishes at 58.5" x 73.5"


The program will run from August 20 until November 26. Meaning your Quilt top will be done, and you should have time to get it finished and displayed for Christmas. Starting on August 20, and packages will be ready for pick up or shipping on every second Thursday. Shipping will cost $4 per block package.
There is a $5 fee to sign up and then it will cost $25 for each block. The $5 fee will be applied as a credit to your first month.
Link to sign up will be at the bottom.
When you sign up we will contact you for your credit card information, and we will auto charge your card for each block. 

The first week you will receive the book and the fabrics for Block 1. For the next 5 packages you will receive a package for blocks 2-6. There is also a package for sashing and inner border, and a package for finishing, which includes the binding but not the backing. (We make 2 each of block)


Every second Thursday Carrie will share her blocks, as well as her tips and tricks for making the blocks easier. 

There is limited kits available so sign up soon by clicking the link below. 
Click here to sign up
If you are too impatient to wait for your blocks every two weeks and want the full kit right away just let us know and we can do that for you.

Carrie just cannot wait to get hers started, and will probably begin working on it after this weekend of her brother’s wedding is over.

Tuesday, February 4, 2020

20 Years of KT

Lynne Hagmeier of Kansas Troubles has been with Moda for 20 years. In that time she has designed over 60 collections of fabric and countless patterns to accompany those fabrics. Lynne also has a special technique she uses when making quilts called layering, she shared this technique with us when she came to our shop a couple years ago for some workshops and a trunkshow.
To celebrate her 20 years, Lynne has designed a new block of the month that contains 20 blocks, one for each of her years with Moda. The pattern is called 20 Years of KT. We are offering this pattern and all the needed fabrics as a block of the month program.
For the past week all the staff at Chicken Feed Quilts has been busy putting these kits together.
-Tammy spent an afternoon cutting strips of fabric, which Taylor than cut into 10" layer cake squares (504 of them to be exact) on our Accuquilt Go Machine.
 -The next day Jenn started cutting Fat Quarters, we needed a total of 480 to make the 12 kits. She finished that up on Thursday.
-Carrie's job was to choose fabrics for the backgrounds and borders, and cut them accordingly.
-Carrie, Shay and Taylor have all been working on folding and sorting the fabrics into what is required for each month and packing them up accordingly.
-I had the easy job, I went to Lethbridge to pick up some clear totes to store each kit.
If you haven't been in the shop over the past week, I will tell you that there was a mountain of Kansas Troubles Fabric on the main cutting table as well as the secondary table. I did not get a picture but I really should have, though I don't think anyone would appreciate it if I asked them to recreate the image for me.
Sometimes kits come together quickly and easily, other times there is a lot of effort from multiple people involved to get the fabrics all cut, folded, packaged and priced.

Now for the information that you need to know for this Block of the Month Program.
It is a 12 month program and starts this month, though you could sign up later if the kit is still available.
The kit for each month will be ready to pick up on the first Friday of every month.
There will be an option to buy the full kit all at once, though this option will not be available until March.
The program is free to sign up for, and will be $45 per month. When you sign up we will ask for a credit card number, and your card will be charged automatically on the first of each month. There are some months when you will receive well over $45 worth of fabric, and others where it will be less, but an equal sum for each of the 12 months is the easiest for everyone.
I believe there are also a couple of bonus patterns included throughout the year as well.
The finished quilt finishes at 118" square. If you are thinking that is just way to big for you, you could always make it without the borders, and use that fabric for a different project or for the backing of your quilt.
Lynne also has a blog, and she has posted some more information on this project, a little comment about why she has included a specific block in the pattern as well as any pattern corrections that she has made. For example she has posted a blurb about block 2 which is made with nine patches, she talks about her love for that block, posted a picture of her block and a little tutorial on how to make it. You can check it out here.
There are limited kits available and once they are gone they are gone, so if you are interested sign up soon.
Have a great week. In our house we seem to slowly be getting over the assorted flus, colds, viruses and what nots. And when I say slowly I mean slowly, I think the school secretary and I should have each other on speed dial for the amount of times we have called each other either about a child staying home or needing to be picked up from classes.
Have you been suffering from the winter bugs this year or have they left your family alone?
Kayla

Tuesday, August 13, 2019

Sew Hometown: August

Another month, another set of blocks. This month we are making the Butterfly Blocks in the quilt. These blocks finish at 9" and we need to make 6 of them.
Once again there is some Improvisational Piecing involved. This type of piecing is perfect for using up scraps of all shapes. I didn't have many scraps left so I ended up cutting some 2" strips off my Fat Quarters and using them to do my improv on three of the blocks. The other three I decided to use just one piece of fabric rather than doing the improv.
Once you have the wing centers pieced the blocks assemble quite quickly. We just need to add the squares to all four corners of each wing, put the body between two and add the top border.
As with previous blocks, I used my folded corner clipper ruler from Creative Grids to trim the squares before sewing rather than drawing the lines.
If you wish to watch a video tutorial for this block, head over to the Inspiring Stitches website.
Here are all my blocks so far, only four more sets of blocks to go.

As a reminder the Fall Class and Club reveal is tomorrow evening, Wednesday, August 14 from 7pm-9pm, I hope to see you there.
Kayla

Tuesday, May 7, 2019

Sew Hometown: May

It honestly feels like I just finished the Sew Hometown post for April, and yet here we are a week into May already. In our family, my two oldest have started soccer, and my husband has begun softball again. I love this time of year, even though it is really busy, it feels like a kickoff to summer fun and being outside as much as possible. I also get a lot of binding done while sitting at the soccer field watching practices and games, so that is always a plus. I do find that I have less time in the evenings to quilt but an hour is still better than nothing.
For our Sew Hometown Quilt Along, we have 5 blocks to make this month. The block we are making is called Hopscotch and is quite fun. It is more intricate than last month's and it finishes at 9" when it is in the quilt.
In my Fat Quarter Bundle I had some brown prints that I decided to use as the "background" fabric this time, and than I used solids for the dark section and a print for the light.
I actually followed the instructions this time around and didn't change anything.
Amy Ellis did a video tutorial on the block so you can click here to see it.

 For it being only May, there is already a good number of blocks that we have finished. I am loving this Block of the Month so far, how about you?

Kayla

Friday, March 8, 2019

Sew Hometown: March

This month we are making the Crosswalk Block for our quilt, and we need to make a total of 5 of them. They are pretty straight forward blocks and is made up of half square triangles and some pieced units that go together quite simply.
I chose to go with a different color for each Crosswalk and to do all the backgrounds in dark brown.
To speed up the cutting, I stacked all 5 contrasting colors on top of each other and cut my strips and squares all at the same time. Than I cut for 5 blocks from the background rather than 1 at a time.
I trimmed my Half Square Triangles using my 4-in-1 Half Square Triangle Ruler from Creative Grids. I love this ruler for trimming these blocks, and we have a tutorial on our Facebook Page demonstrating one of the methods to trim HST's with it.
I am so happy the pattern designers chose to make the "crosswalks" with strip sets, it really speeds up the process, and cuts down on the number of small pieces to cut at the beginning. Be sure to be gentle when pressing the strip sets, it can be easy to distort longer strips when pressing. I like to give it a quick finger press before applying heat.
On the bottom left of the pattern there is a small picture with arrows showing which way to press your seams in the final construction. I actually pressed mine opposite of what is shown, mostly because that is which way my seams wanted to go.
I am having a lot of fun pulling this out once a month and making a few more blocks to add to the stack. I also really like the fact that we are making more than one block each month unlike many Block of The Month programs where the pattern calls for just one block a month. I must confess though that I am almost finished my quilt, because I would like to get it hanging in the store as a sample for the pattern and fabrics.
Have you been working ahead, or are you going month by month?
Come back on Tuesday to see some of the latest fabric arrivals in our store. There will be no blog post next week Friday (March 15) as it is my little sisters wedding that day.
Kayla


Tuesday, February 12, 2019

Sew Hometown: February

This month we are making 4 Birdhouse Blocks for our Sew Hometown Quilt. These blocks are very straight forward to make, and if you have a scrap bin if strips narrower than 2" you will be able to use a good amount of them.
You can go very coordinated with these blocks or super scrappy, whatever suits or fancy, or even a couple each way.
I chose coordinated and made the centers of each one of my birdhouses a solid color and than did a light and dark of two colors for each set of strips, choosing a third color for the roof and base of each birdhouse.
When adding the strips be sure to add to both sides and than top and bottom, in a courthouse steps fashion rather around the block like a typical log cabin.
Also be careful when pressing not to distort those fabrics, but still getting a nice crisp press.
I absolutely love my wool mat for this. The wool mat holds the heat from your iron (without getting too hot, so you can still use it on your table), so it is like pressing your block from both sides at once. I honestly would not press with out my wool mat anymore I love it so much. They come in a variety of sizes from small squares to a large mat that measures 22"x60". I love my monster mat, but aside from that one the Mega Mat which measure 14"x24" would be my preferred size. We do have the Mega Mat in stock and the smaller ones are on order and should be here around the end of the month.

Be sure to tag us, chickenfeedquilts, in your photos so we can see your blocks and tag Inspiring Stitches as well so they can see your progress too.

Kayla


Friday, January 4, 2019

Sew Hometown: January

The first blocks we are making for the Sew Hometown Quilt are the Cabin blocks. These blocks finish at 12" and we need to make 4 of them in total.
I chose the fabrics for all 4 blocks, took a quick photo and than stacked all the roof fabrics together and cut them all at the same time, repeating for all the pieces. This made cutting go quick, and I had a picture to look back at if I forgot which house fabric went with each roof. I also just chose 4 greens and cut one of each size strip from each to make the 4 blocks.
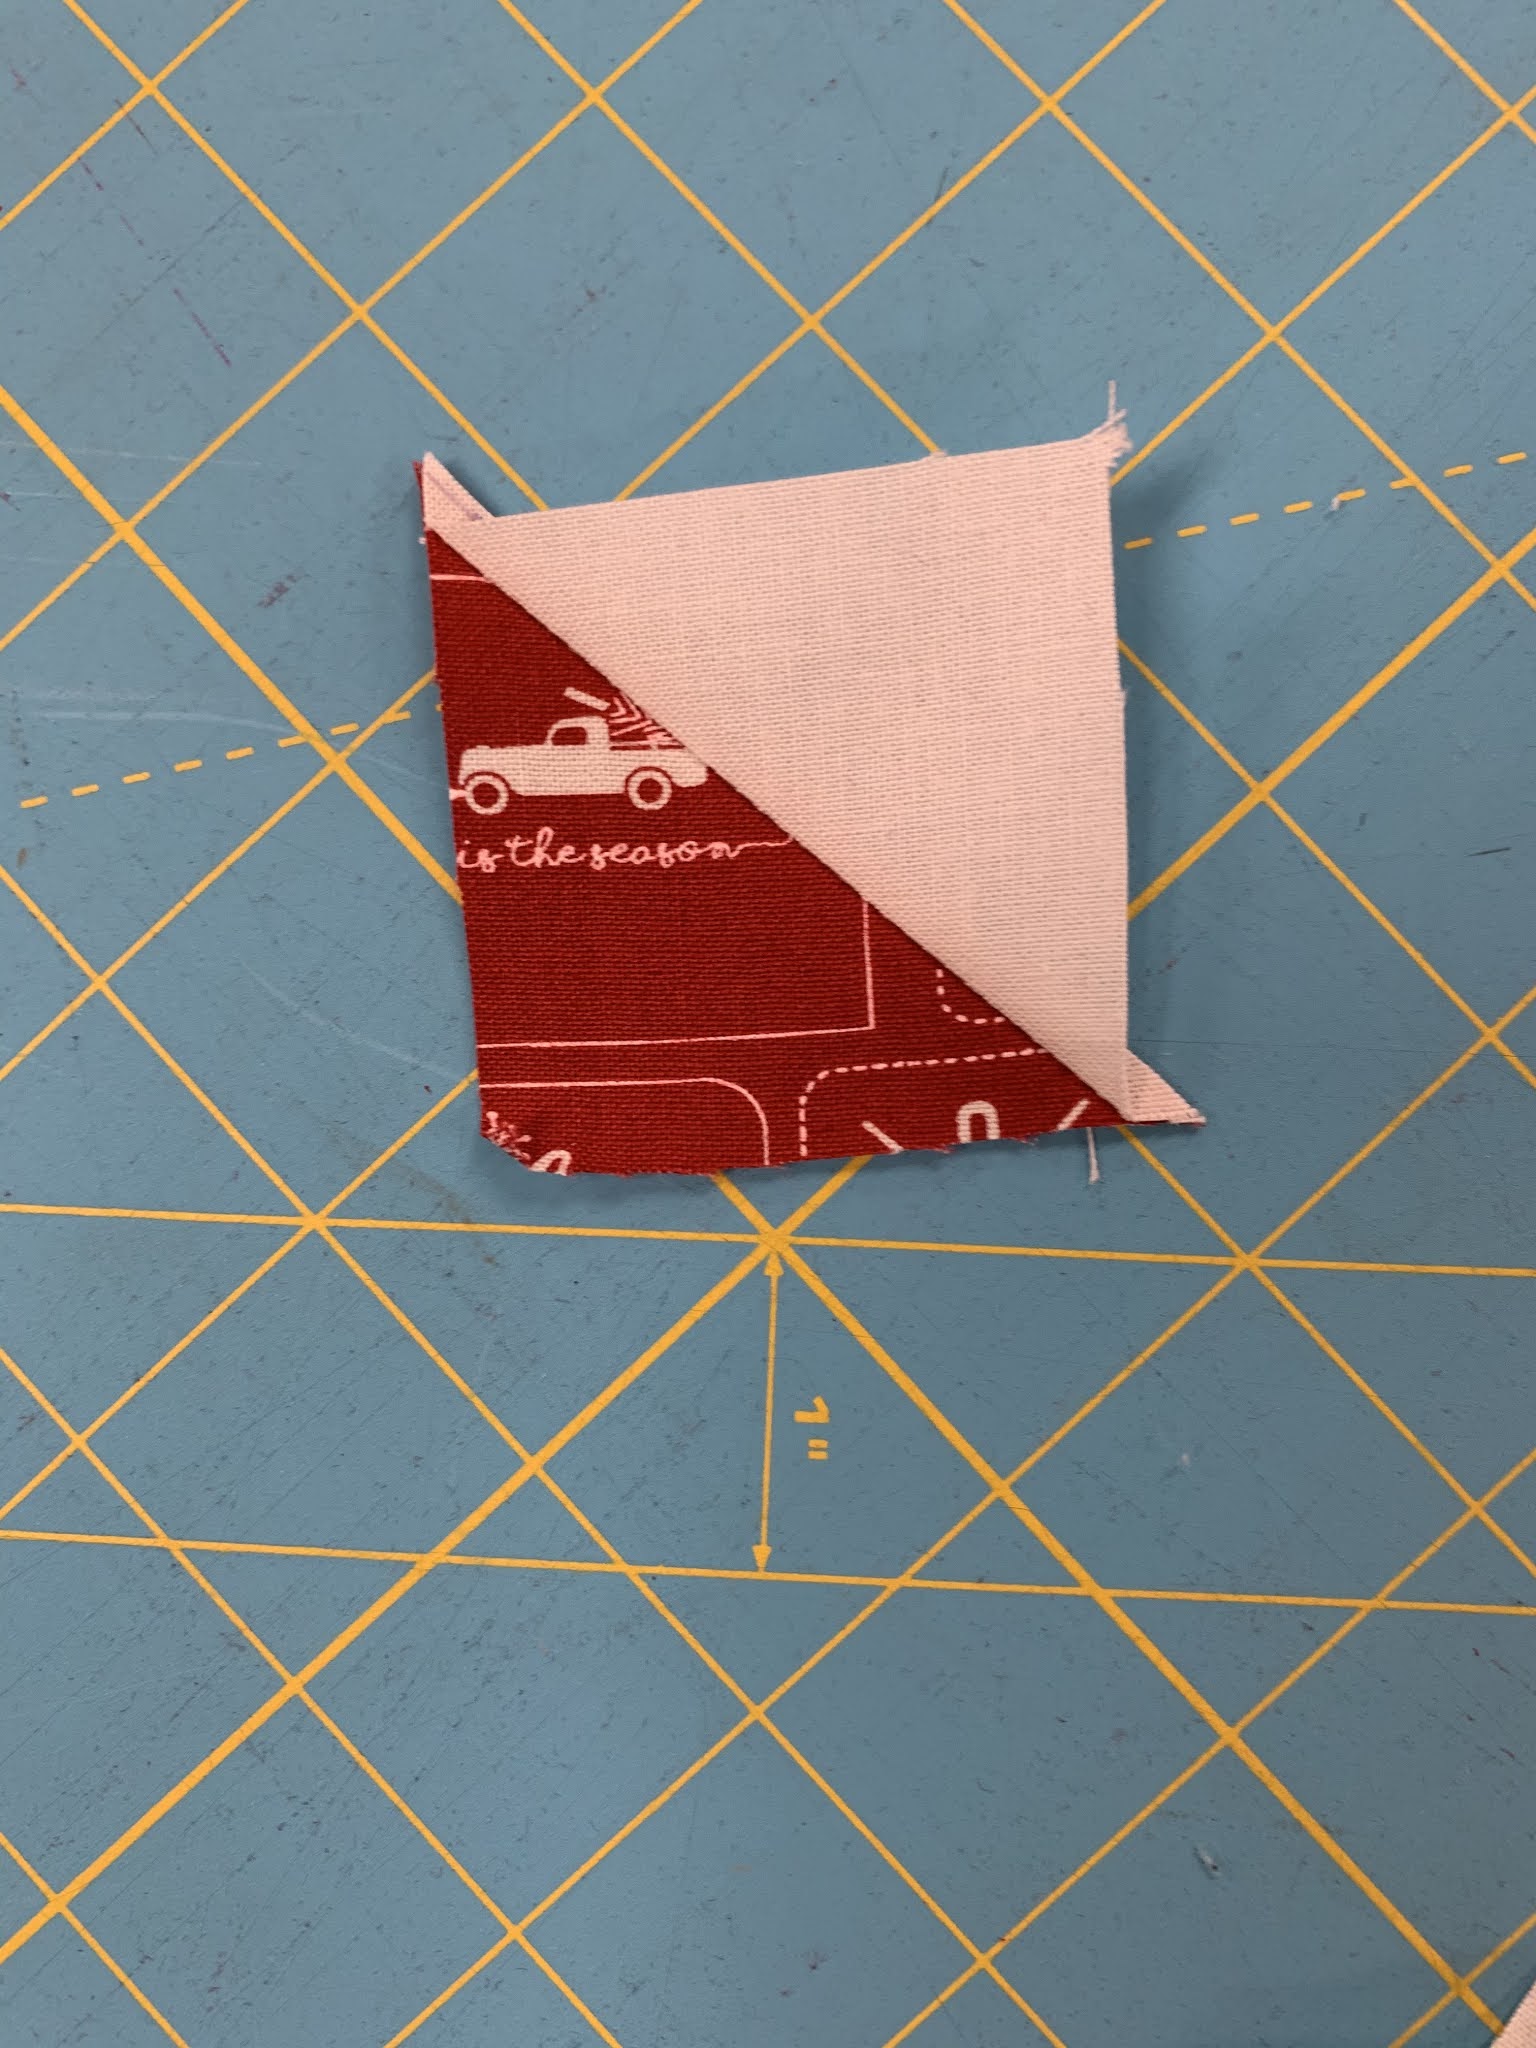
Creative Grids recently produced a ruler that is called Simple Folded Corners. It is great for stitch and flip blocks, like we do here on the roof. To use just put the two pieces right sides together, and than instead of drawing a line on the diagonal and stitching and than trimming, just align the ruler on the fabric, use your rotary cutter to trim the excess and than stitch. It includes the 1/4" seam allowance for you.
Rather than throwing the scraps from these corners into a scrap bin or the garbage, I like to stitch them into half square triangles. I just chain stitch them quick, give them a press and set them aside. I will keep all the ones from this quilt together and in the end I should have enough to make a small project, with the bonus of all the HSTs being premade.
The pattern gives the option to make the blocks with the house on the right side or to switch it up and place it on the left side. I ended up making them all with the house on the right side (mostly because I was chain piecing and not really paying that much attention). If you want the house on the left simply add the background on the other side, this is such a simple way to change up a block, without .
changing any measurements.
The gals from Inspiring Stitches have not yet published their post for this month's blog, but as soon as they do I will publish the link to it on our Facebook Page.
Have fun making your blocks and tag Chicken Feed Quilts in your pictures so we can see them too.

Kayla

Block instructions can be found in the Inspiring Stitches 2019 Calendar: Sew Hometown