Showing posts with label midnight clear bom. Show all posts

Thursday, November 26, 2020

Midnight Clear BOM Borders

 This is the last week of our sew along. All we have to do is put the borders on, or if you are like me and wanted to wait, assemble the quilt center and put the borders on. 

 For assembling the quilt center I laid out my blocks how I wanted them to be, then you place a sashing section between each block. Make sure you watch which way those “ribbons” point in the sashing row, so they all go the same way and give the ribbon effect. 


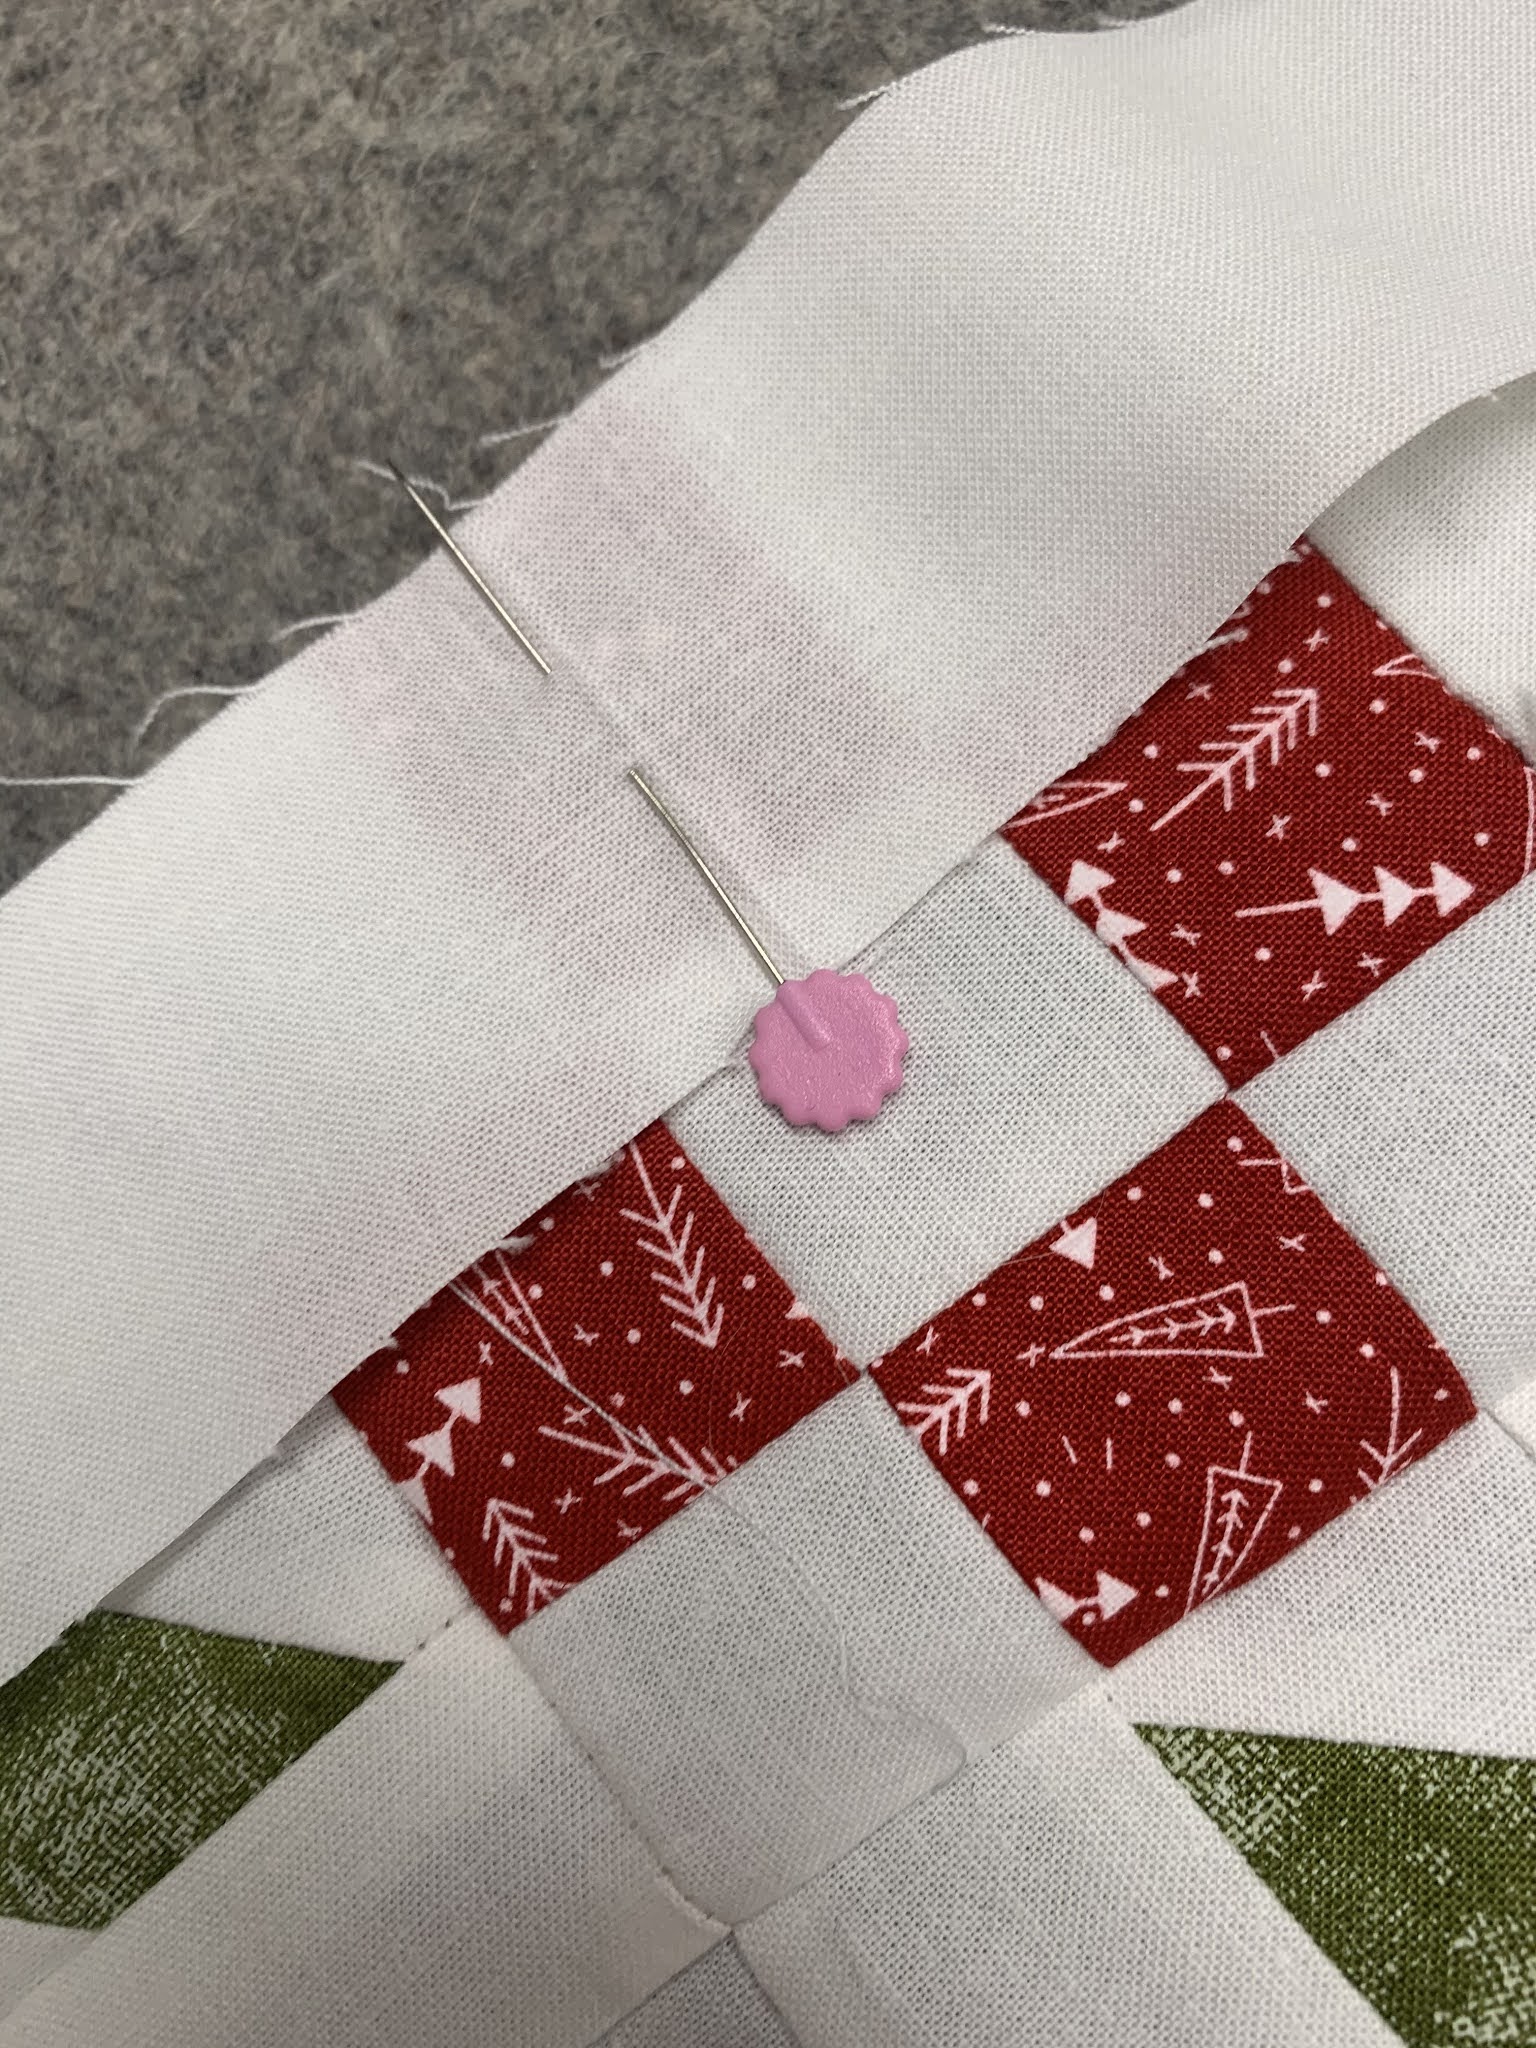
After you have this done, we have to sew the first border on. For sewing borders I like to measure the sides of my quilt center and then cut my borders to size. Once they are cut I pin the centre’s and then again at one point between the end and the center on both sides. This helps me not stretch my borders or my top when attaching these. 

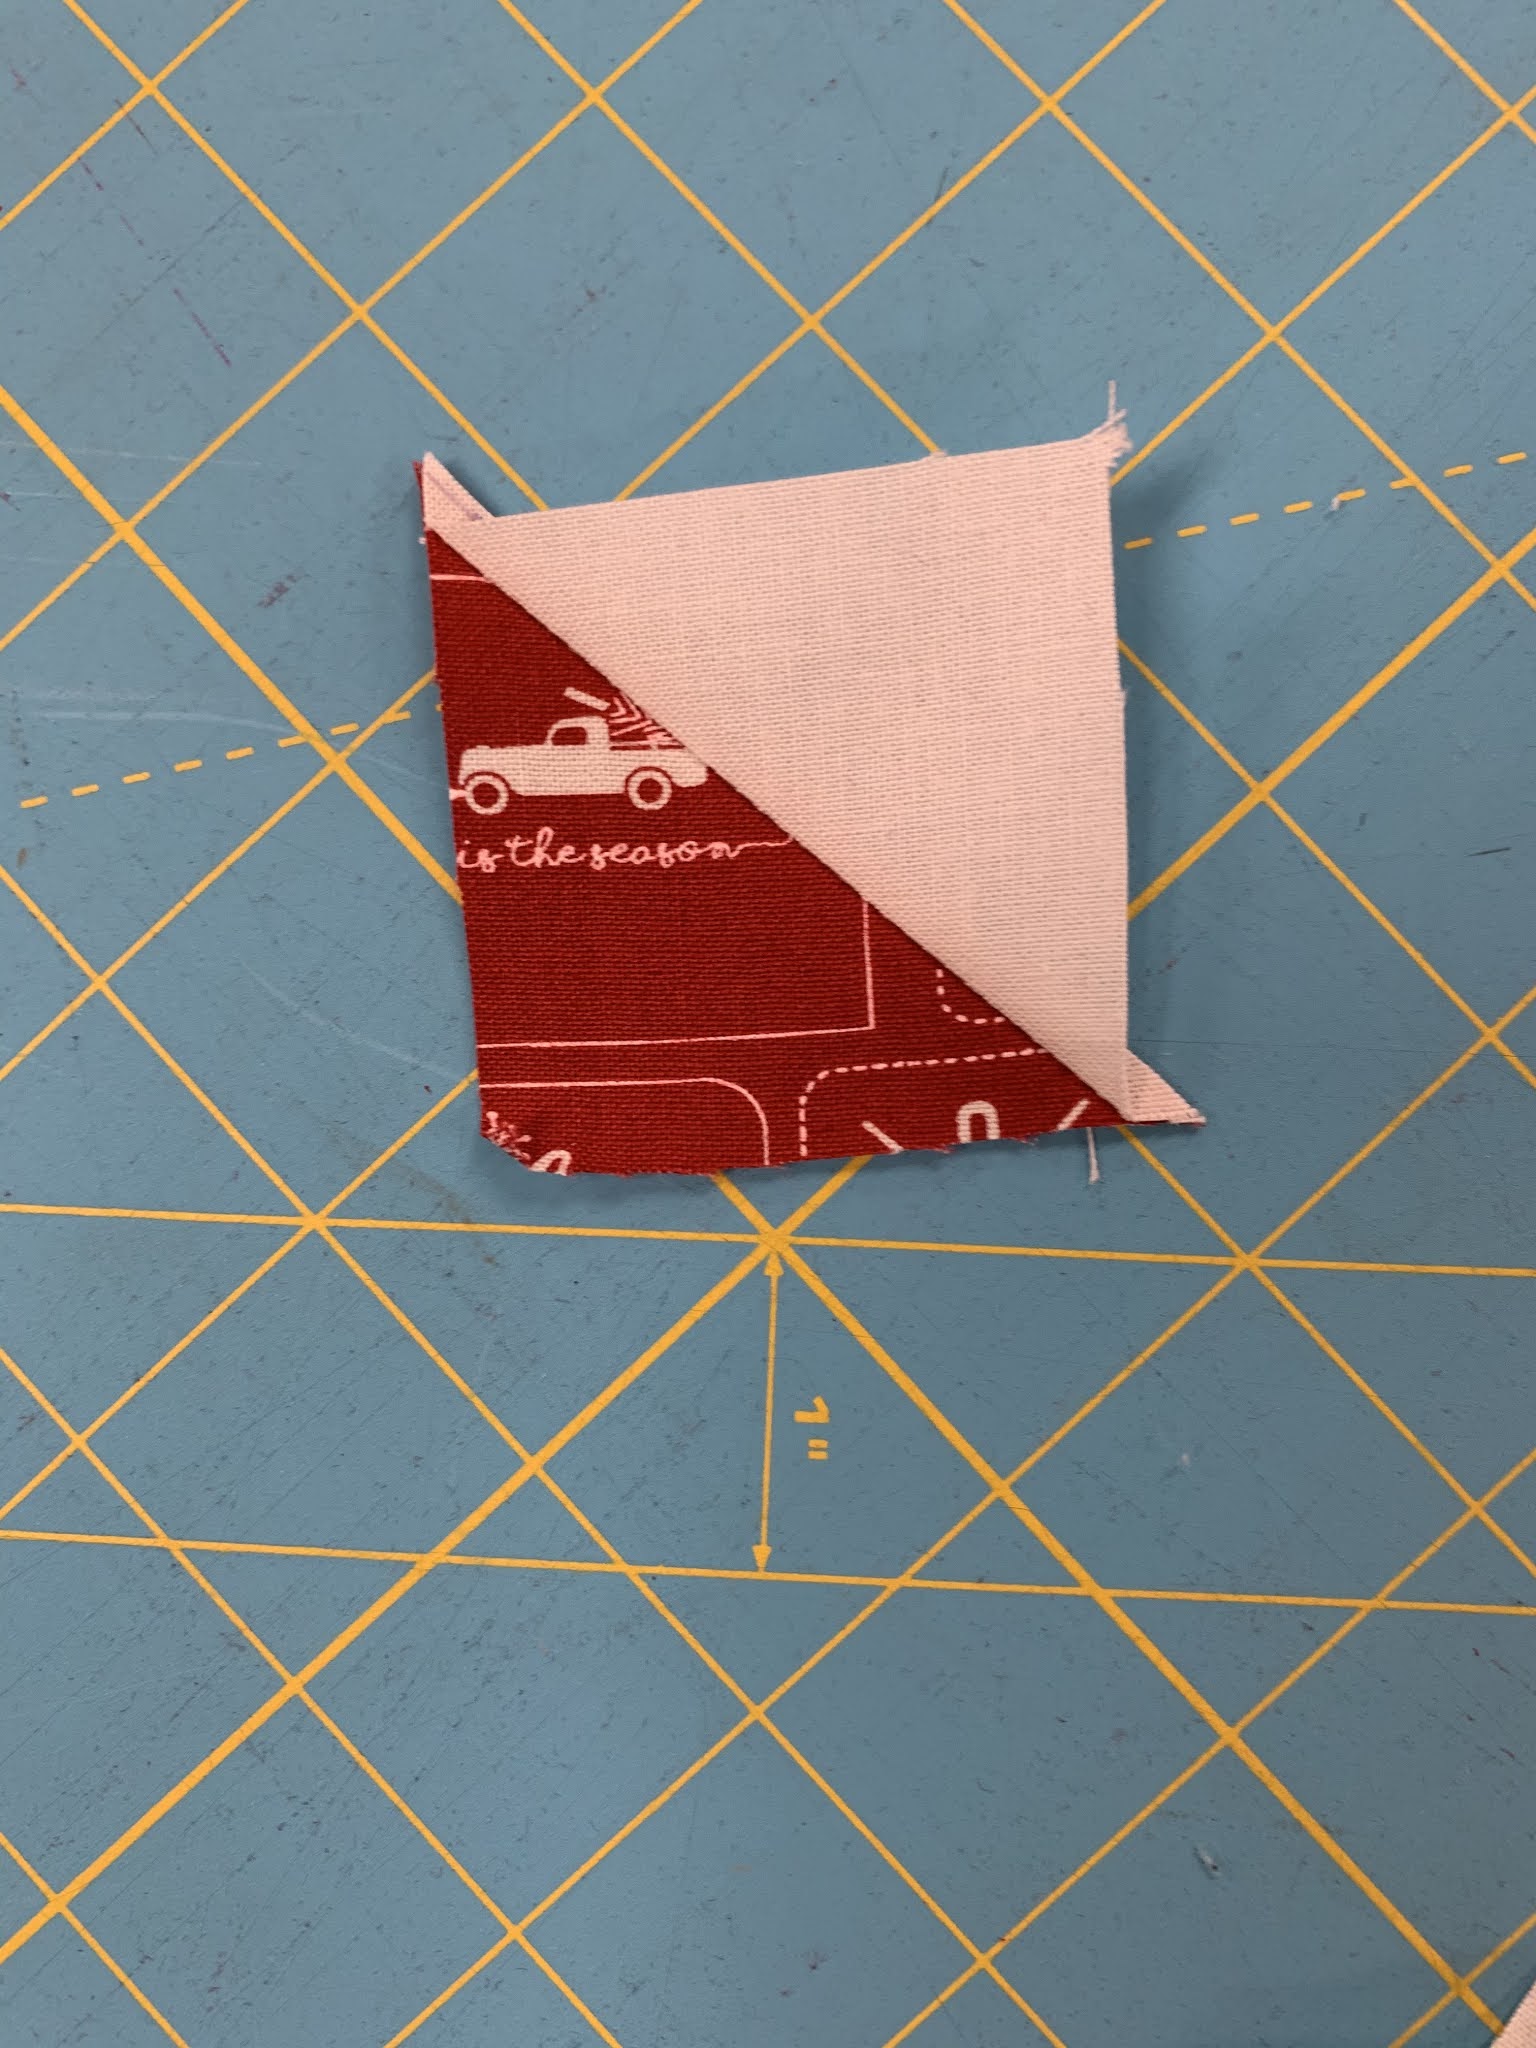
Once these are attached we need to make our corner squares, for these I used my Folded Corner Clipper again rather than drawing the line across. 
See how the points nicely line up and nest when attaching the corner square the the top and bottom borders. 
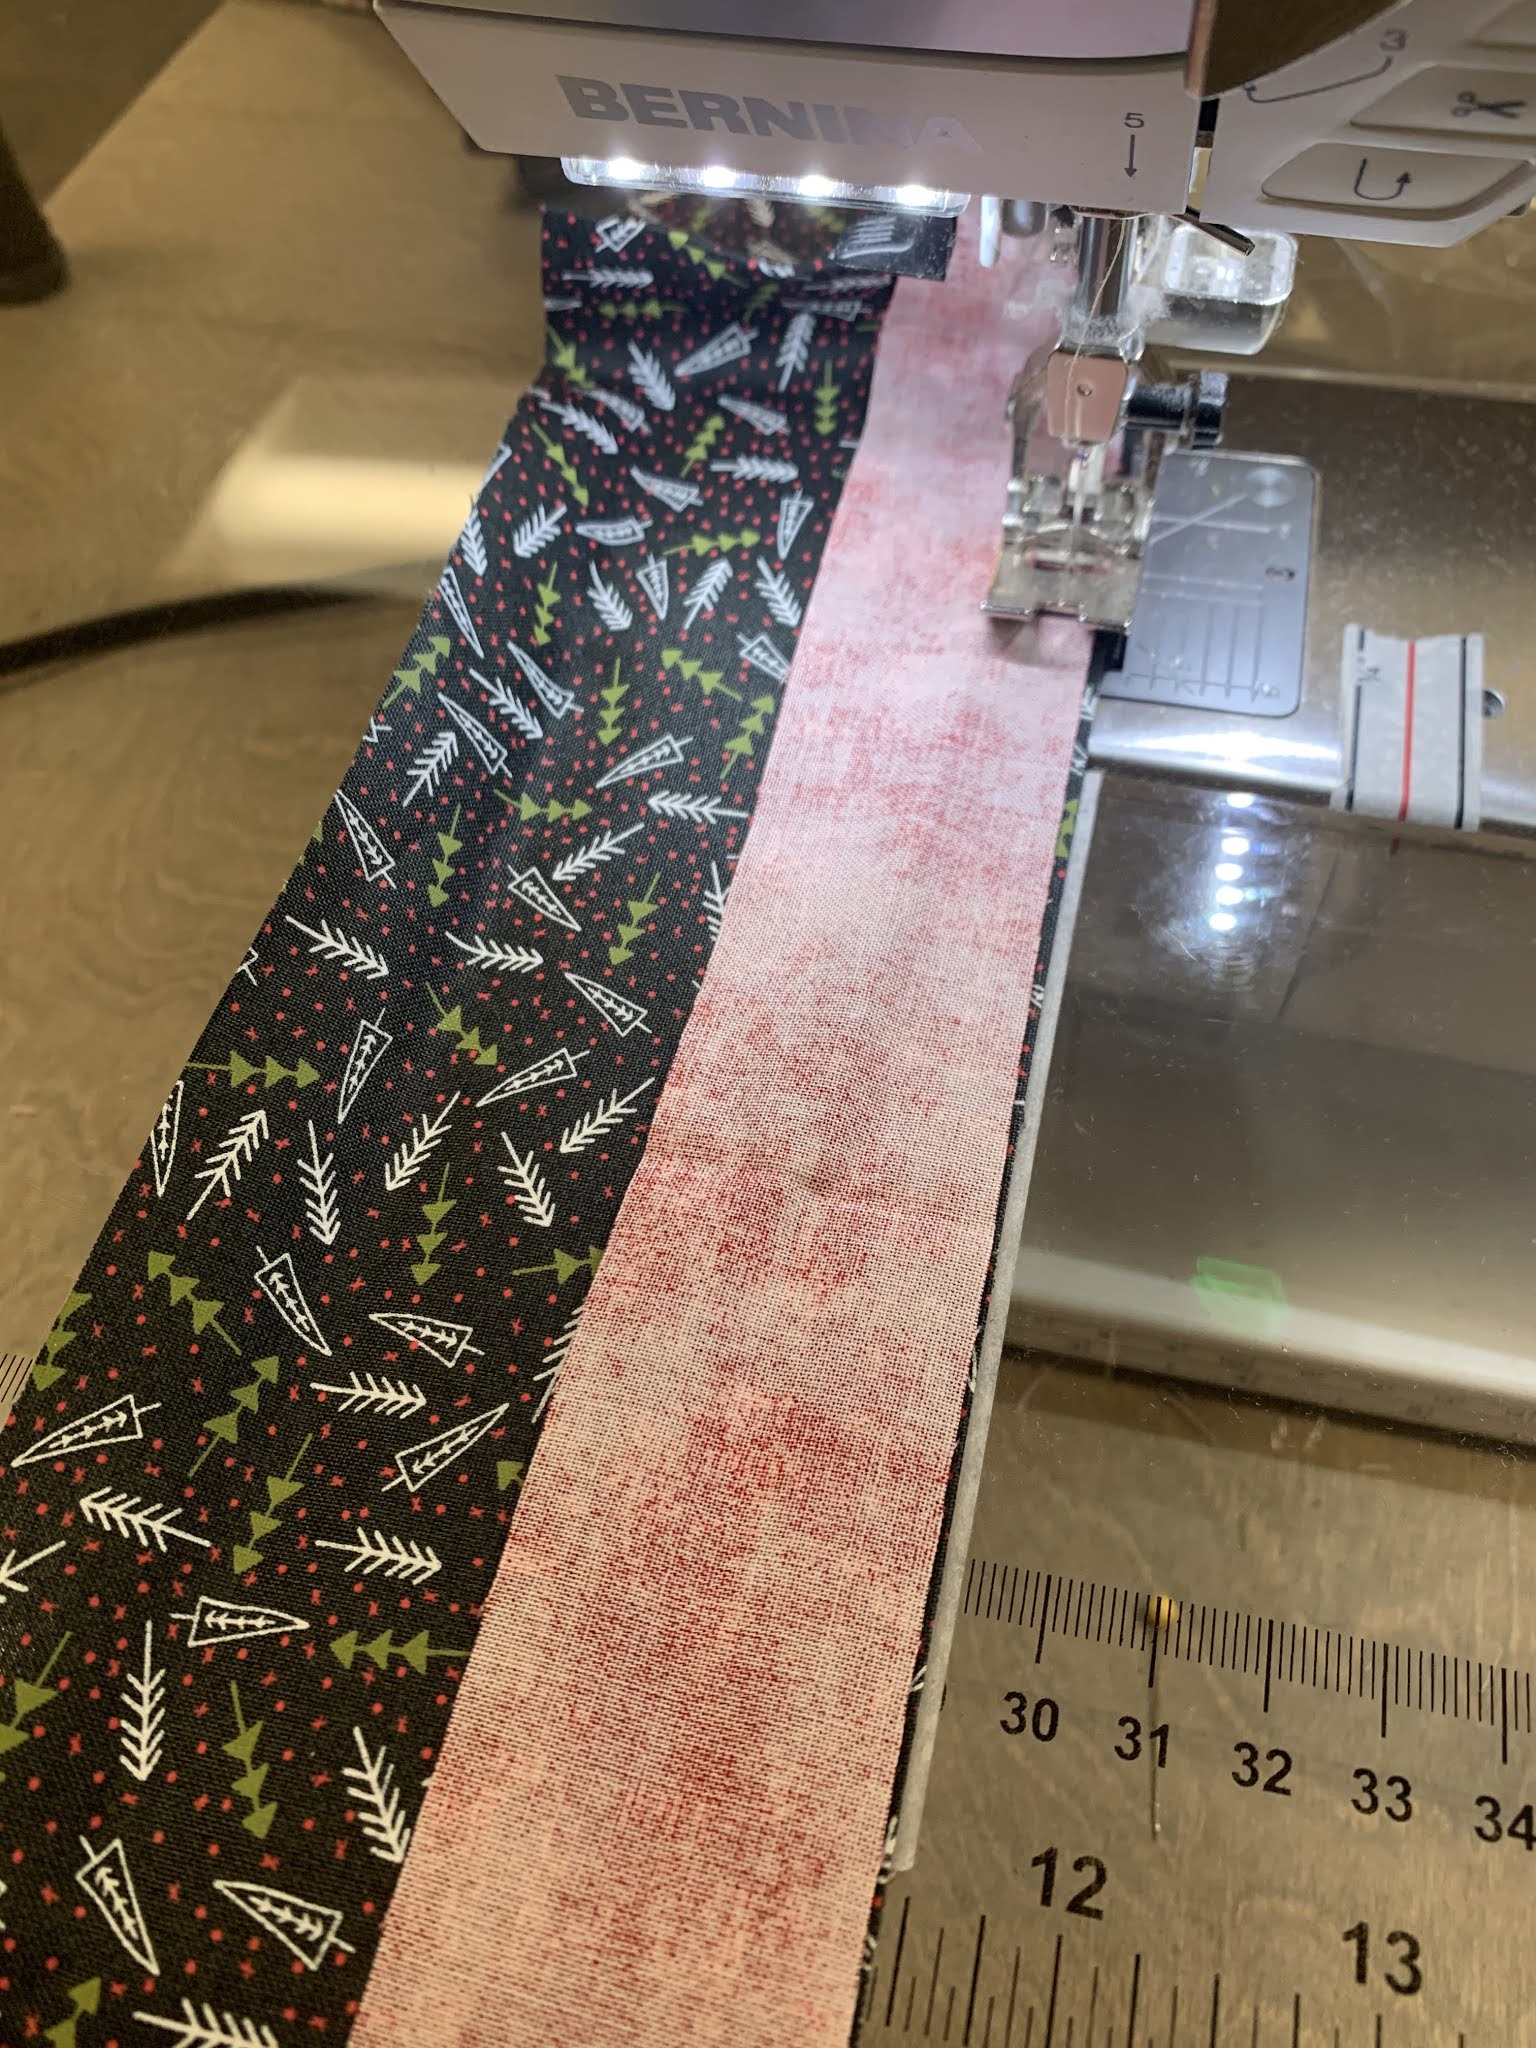
All that is left is to attach the final border. 
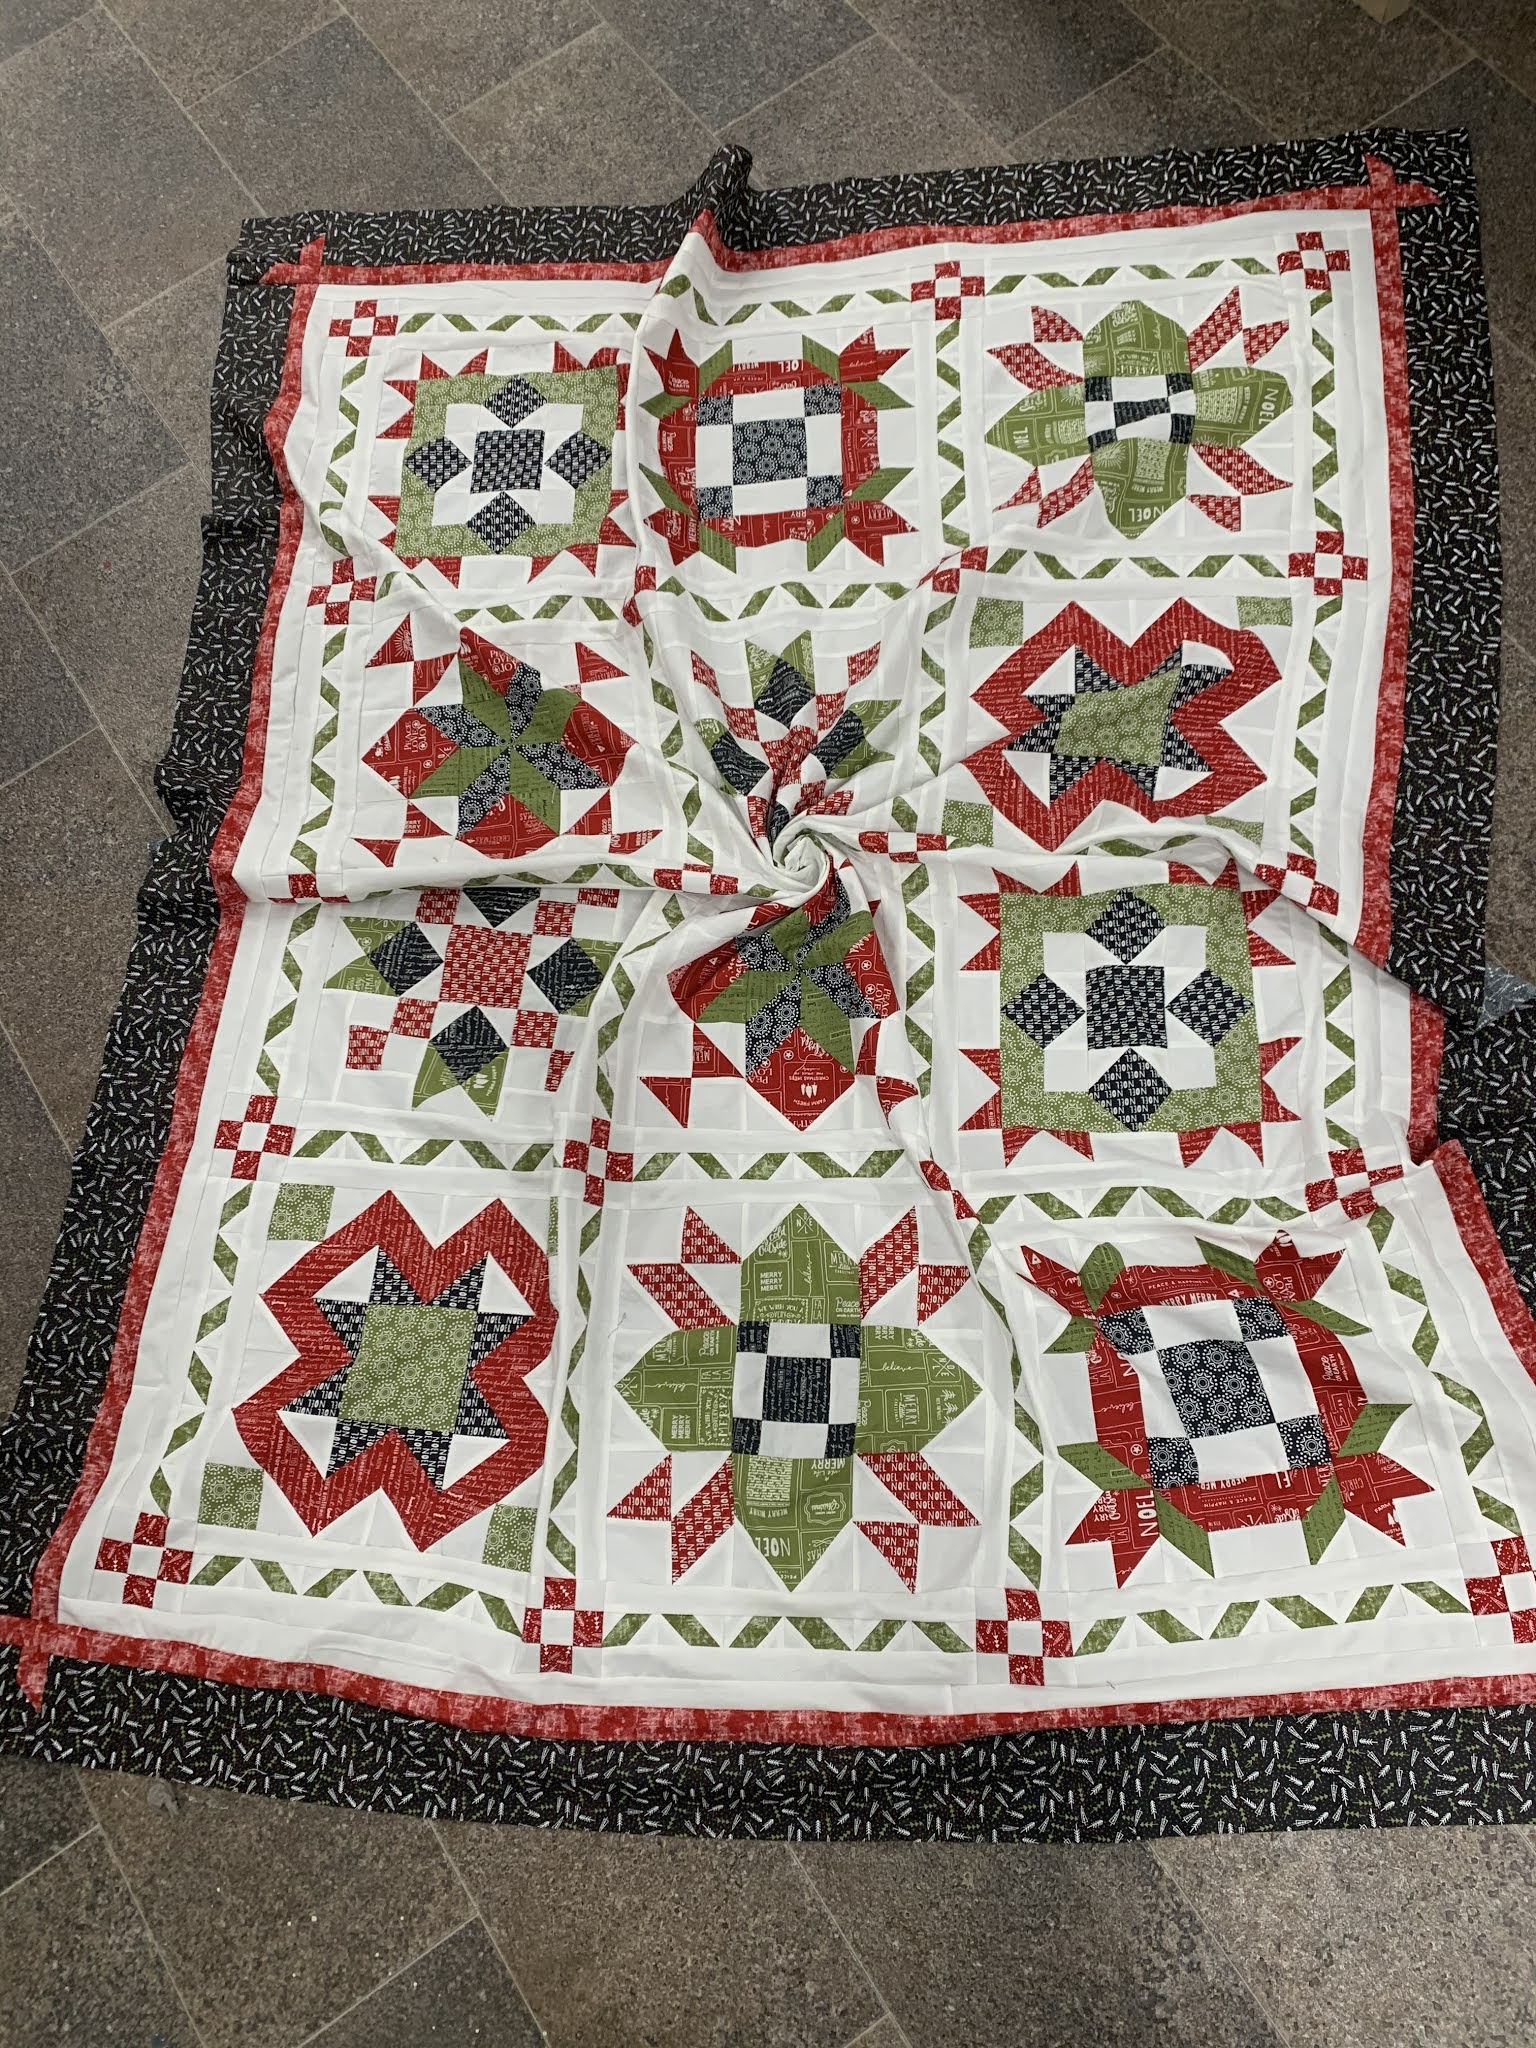
Here is my completed top. 
I chose a green Shannon Cuddle for the back of my quilt. Hopefully I can get it quilted and bound next week. Watch for the photo of it complete to be posted. 
Thanks for sewing along with me. I had so much fun working on this. I am already planning my next one, so watch out for that. 

Thursday, October 29, 2020

Midnight Clear BOM Block 6

 Wow! I realize this is a really late post. I had a busy day and time got away from me, and as I was getting ready to go to bed I realized I never wrote the blog! Today consisted of fixing a longarm, pricing new products, a mail run, and then off to my brother and sister-in-laws for dinner, which quickly turned into the rest of the evening. 

It is time for our last block set of our Midnight Clear BOM. Block 6! Crazy too think we are that far already, and that close to Christmas! 

Block 6 was a fun one. There are quite a few flip and stitch corners, and a few half square triangles. 

For my half square triangles I adjusted my cutting sizes and rounded up again. I would rather cut too big and have room to square than cut those pesky 1/8”. Sew on either side of the drawn line and then I squared my half square triangles using my 4-in-1 half square triangle trim tool.  

Then for all the stitch and flips I used my Folded Corner Clipper. I love this tool so much, and it is one that I always have with me when quilting, and always pull out. Mine had been getting a lot of use lately, it seems I’ve chosen a few projects that have a lot of those stitch and flips in there. 

I love how all these blocks are composed of very similar parts and come out looking so different. And how a stitch and flip can look so unique from one block to the next, and same with a HST.
Here are my block 6’s. 
Are your ready to construct sashing in two weeks? 

Have a great weekend. Hopefully the next time it’s my turn to write the blog I won’t forget and suddenly remember at bed time 🤣
Carrie will be back November 12 with the sashing rows. And she is gonna remember earlier. 


Thursday, October 15, 2020

Midnight Clear BOM Block 5

 It is time for Midnight Clear Block 5. 

I'm finally starting to feel like we are getting close to the right season to be working on Christmas projects. Do you find it easier to sew Christmas projects when there is snow on the ground, or does it not really matter to you? 


Let's start with cutting. I cut all the pieces the same, except for the squares we are using to make half square triangles, I sized those up to the nearest inch again, in order to have some room to trim my squares again.


My Pieces

For my Half Square Triangles I used my 4-in-1 Trim Tool to square my blocks up, after sewing on either side of the diagonal line marked down the center. 


For the angles on both my red rectangles and my green squares I used my Folded Corner Clipper. Simply line up a white background square on the corner, place the ruler on top, using all the correct guidelines down the middle, up the sides and on the top, then cut and bring to your sewing machine.
I love how I can stack to cut these, and it just saves a couple steps, time, and makes me be confident I will get points and that they will all line up in the end. 


The Components. 

Once you have all your components made, we simply piece the blocks in the same 9 patch manner as the rest. 

My Block 5's

These blocks are so fun! We only have one more set of blocks after this. We are getting so close to seeing these tops finished. I'm excited to see if you have been keeping up or falling behind. Will your quilt be finished for Christmas? That is my goal. 

Carrie will be back with Block 6 on Oct. 29. 


Thursday, October 1, 2020

Midnight Clear BOM Block 4

 We are already at block 4 of our Midnight Clear BOM. If you have been following along and staying caught up this means you should have half of your blocks finished now. 

I love the look of all our blocks so far. I think everytime I finish one I say "Ooh this is definitely my favourite block of this quilt. I love block 4. 

We are going to start with cutting our pieces. For my half square triangles I wanted a little bit more square up room, and I really do not like to cut 1/8's so I decided to round that measurement up to 3", these are cut from our background and our red fabric. For the rest I just cut the sizes exactly as are on the pattern. As I was cutting I realized we have had some extra fabric from all our blocks so far, as far as I can see this isn't used anywhere in our quilt, but I am saving all my extras just in case, and I might just make some pillows or a Christmas table runner for one of my sisters from my left overs. 

To make our half square triangles we draw a diagonal line across the back of our background square, line it right side up with our red square and sew a scant 1/4" on either side of the line. Then cut apart on our drawn line, and I used my 4-in-1 Half Square Triangle Tool to square up again. Since we need them to be 2 1/2" squares I used my 2" finished line on my trim tool. 
Set these aside for now. 
 
Now we need to do a lot of flip and stitch corners. It is very important to pay attention to the direction of your angle in these components of the blocks. I used my Folded Corner Clipper for these, but drawing the line across the diagonal and sewing on the line works well for these too.

Components

Now assemble these blocks as a nine-patch type block. 

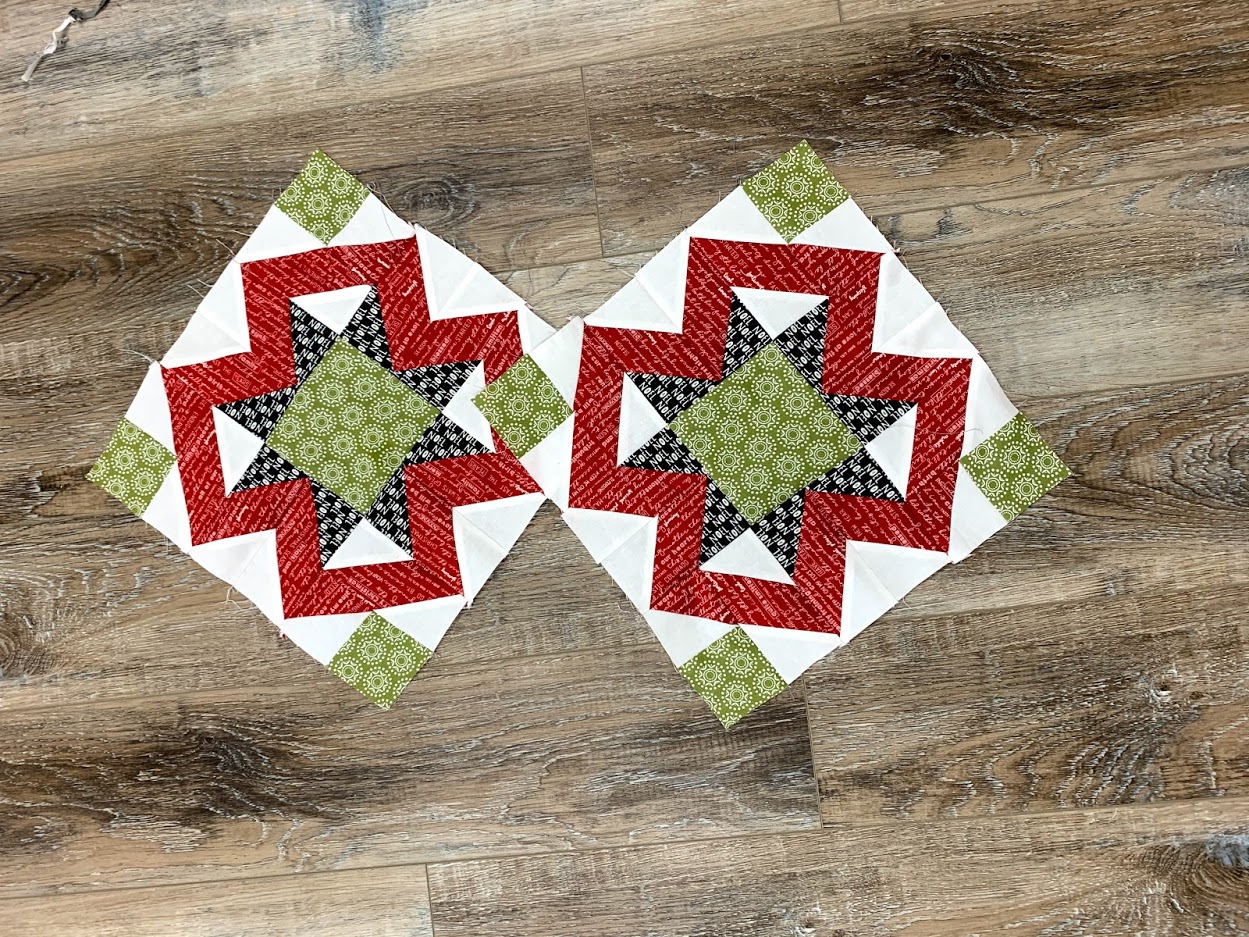
Block 4
How are your blocks coming? Are you keeping up or are you just picking up your kits and stacking them up? I will be back on October 15 with Block 5. 


Thursday, September 17, 2020

MIdnight Clear BOM Block 3


 It is time for block 3 of the Midnight Clear BOM. These blocks were a lot of fun again. I realized as I was making these two blocks that I often change a pattern a fair amount to make it how I would like to do it. 

The Pieces

In this block we need to make Quarter Square Triangles, Flying Geese, and Four Patch blocks. 

For Quarter Square Triangles I do not like to cut my squares into triangles before sewing, so I cut 4.5" squares and marked the diagonal. I paired the white squares with green squares, and the rest of the green squares with the black squares. I then sewed on either side of my line, and cut on the marked line. Press these, and mark the diagonal of the green and white half square triangles. Pair a green and black with a green and white and sew on either side of the line. Cut these on the line. I used my 4-in-1 Half Square Triangle trim tool to square my blocks to 3in Finished. Then press.


For these Flying Geese I used my Ultimate Flying Geese Tool again. These flying geese finish at 1 1/2in by 3in, so I will need to cut these size squares. I cut two 4 3/4in squares of my black and eight 2 3/4in of my background for the flying geese. Then continued to make them the same way as I did the last time.

The Four Patch blocks I made as the pattern said. 

The Components. 

After this we get to piece our blocks.


Thursday, August 20, 2020

Midnight Clear Block of the Month: Block 1

Today is the first day of the Midnight Clear Block of the Month, so Carrie is here to share her block 1's, and her tips and tricks for making them easier. 

For this week we are making 2 block 1's. When I first opened my book to block 1 I was a bit intimidated by the look of the block, but the pattern is broken down really well. and you just have to make 3 components and then piece them together as a 9 patch. 

First for color placement. I followed the color placement exactly as they have it in the pattern. I just think that this gave the block a really cool effect, you could easily switch them up if you wanted to though. 

For cutting. Anytime there is an 1/8th measurement I round up, and trim later. That is what I did here as well. I cut 3" instead of 2 7/8"s so that after I piece the half square triangles I have more room to square them up. For the rest of the pieces I cut as the pattern said and then labeled them with my Alphabitties to keep them straight. 

Now for making the half square triangles. I don't know about you, but whenever I mark a line down the center I have a tendency to sew on the line instead of on either side. With my Creative Grids Marking Tool I can easily draw 1/4" on either side of the center and then sew on the line. If you haven't already noticed I am a fan of tools, so to square my half square triangles, I used my Creative Grids 4-in-1 Half Square Triangle Trim Tool. All markings on this tool are in finished sizes, so I put the 2" line on my seam and squared them up. Then you simply make the 4-patch Units. 

For the Pinwheel unit I followed the same steps as above to create my Half Square Triangles and then again simply assembled my 4 Patch Units.

The next unit is a Square in a Square block. To make these I put my red square down, then placed my white square and my black square in opposite corners. I used my Folded Corner Clipper to help me make these flip and stitch corners and this worked really well for me. Do this again with the other white square and green square. 

 
Now all that is left is assembling your units into blocks and you are finished. 


Have fun sewing up your blocks, I will be back with block 2 on September 3rd. 


Thursday, August 13, 2020

Midnight Clear Block of The Month: Introduction


Carrie is starting up a new block of the month program and she would love to have you join her. 

She was looking at books on the shelf and found a book called Holiday Wishes from Sherri Falls for This & That Paper Company. She will be creating the Midnight Clear Block of the Month (it is the quilt pictured on the cover of the book, and is shown below) using The Christmas Card fabric from Sweetwater Fabrics. The Quilt finishes at 58.5" x 73.5"


The program will run from August 20 until November 26. Meaning your Quilt top will be done, and you should have time to get it finished and displayed for Christmas. Starting on August 20, and packages will be ready for pick up or shipping on every second Thursday. Shipping will cost $4 per block package.
There is a $5 fee to sign up and then it will cost $25 for each block. The $5 fee will be applied as a credit to your first month.
Link to sign up will be at the bottom.
When you sign up we will contact you for your credit card information, and we will auto charge your card for each block. 

The first week you will receive the book and the fabrics for Block 1. For the next 5 packages you will receive a package for blocks 2-6. There is also a package for sashing and inner border, and a package for finishing, which includes the binding but not the backing. (We make 2 each of block)


Every second Thursday Carrie will share her blocks, as well as her tips and tricks for making the blocks easier. 

There is limited kits available so sign up soon by clicking the link below. 
Click here to sign up
If you are too impatient to wait for your blocks every two weeks and want the full kit right away just let us know and we can do that for you.

Carrie just cannot wait to get hers started, and will probably begin working on it after this weekend of her brother’s wedding is over.